I just had a conversation with the illustriously genuine ✨Kassy LaBorie, on her podcast #TheSparkKonnect. It was a joy. The topicwas: How to connect the arts to our work as training facilitators.
My main concern was “Which discipline of art creation should I focus on?” My worldview is that creation is the highest form of worship. Which modality of art creation should I focus on? I just rolled with it and talked about the whole VENN diagram that is my artistic journey. It was better than therapy!
My word for 2024 is Integration, and I am applying this goal to all of my projects. In this post, I integrate my interests in Podcasting, gardening, home repair, painting, video design, and parenting into a single message on productivity and self-improvement.
Video
I can beach. I can solder. I can paint I can speak. I can tie it all together.
AI Summary
Monica is a free AI assistant that I have added to Google Chrome, and she so kindly offered to summarize my video.
This video drives me closer to having a Podcaster tone of voice so the Video really drives this post. Also, in the post I share that I am slated to be a guest on the “If You Ask Betty” Podcast. This post is about me preparing my setup to arrive at that recording ready to roll. I had an issue recording on my current setup in 4K and then did not have an issue recording after I set my recording to 1080p.
The ways Monica caught my meaning and extrapolated the connections I inferred are amazing. I love how parts of the summary are inaccurate, for example, Monica stated that I will attend the “If You Ask Betty” Podcast and play the role of Ken.
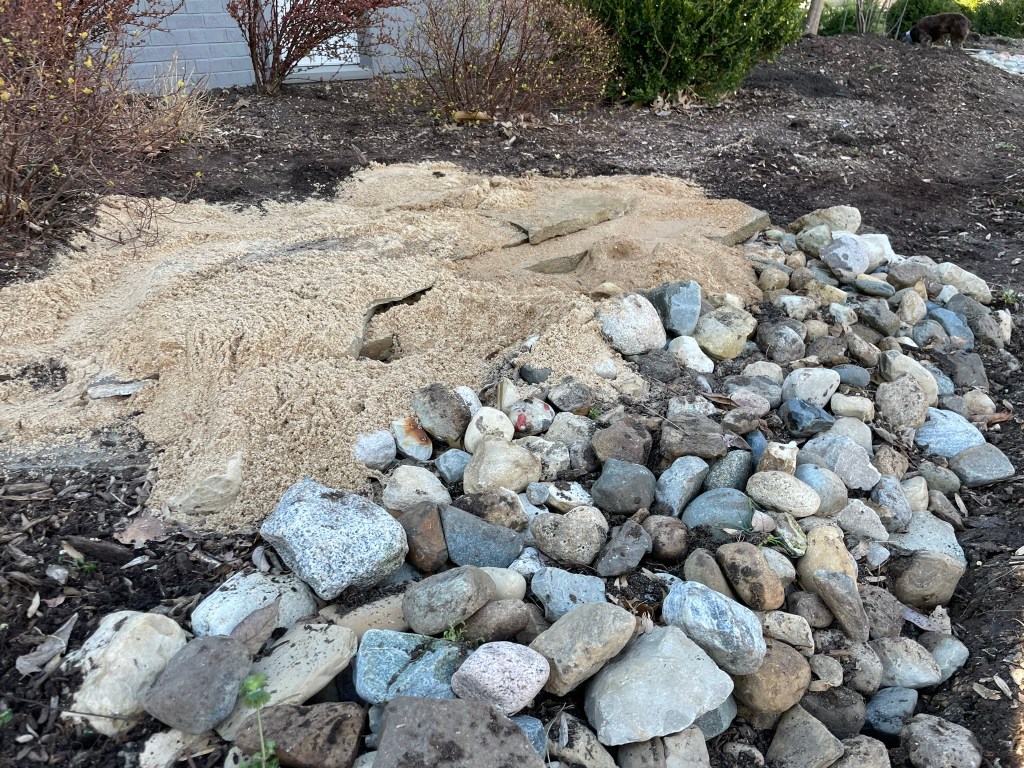
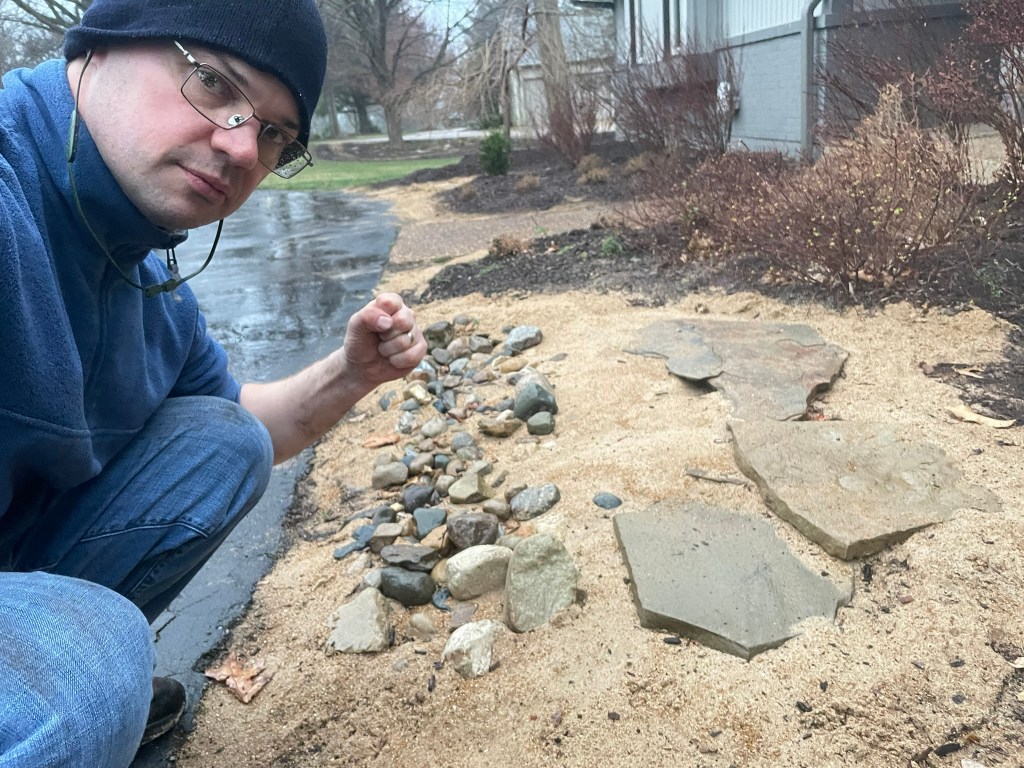
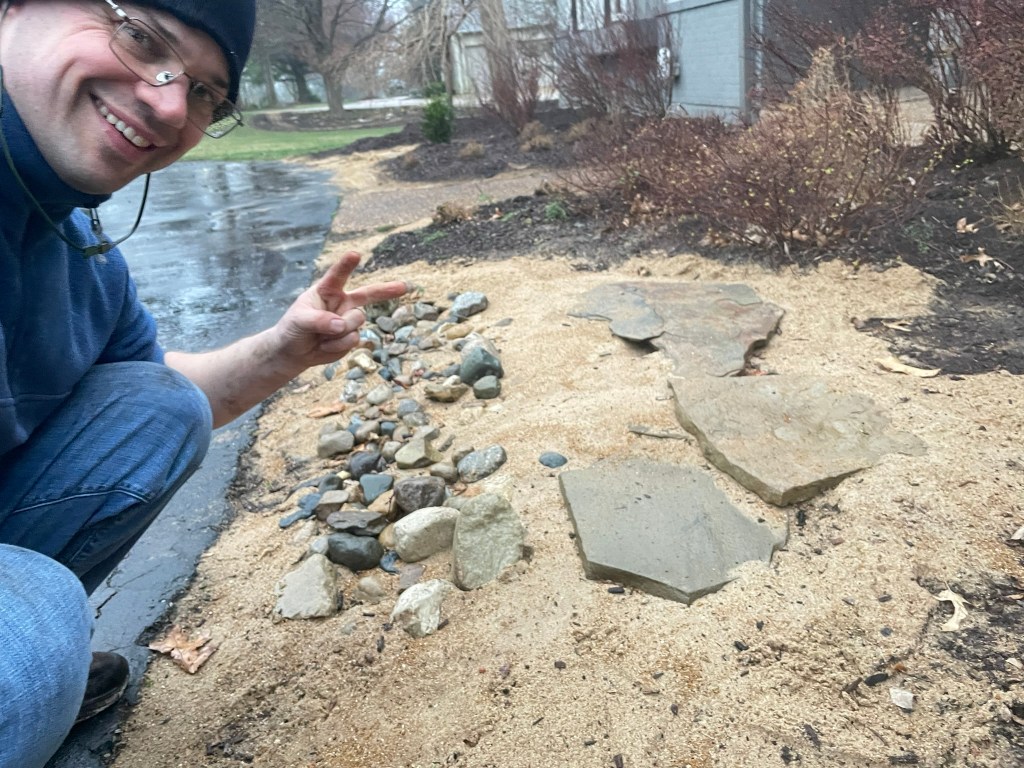
00:04 Improvement Dave (David Kolmer) is excited to be on a podcast about the Barbie movie and is celebrating by throwing sand on his front yard to practice “beaching” like Ken.
David is a fan of the podcast “If You Ask Betty” and has listened to the Loki series multiple times.
He bought one ton of sand and plans to purchase another ton to create a backdrop on his front yard.
David’s wife is not impressed with the sand on the lawn, but he finds it fun and is practicing for his role as Ken in the podcast.
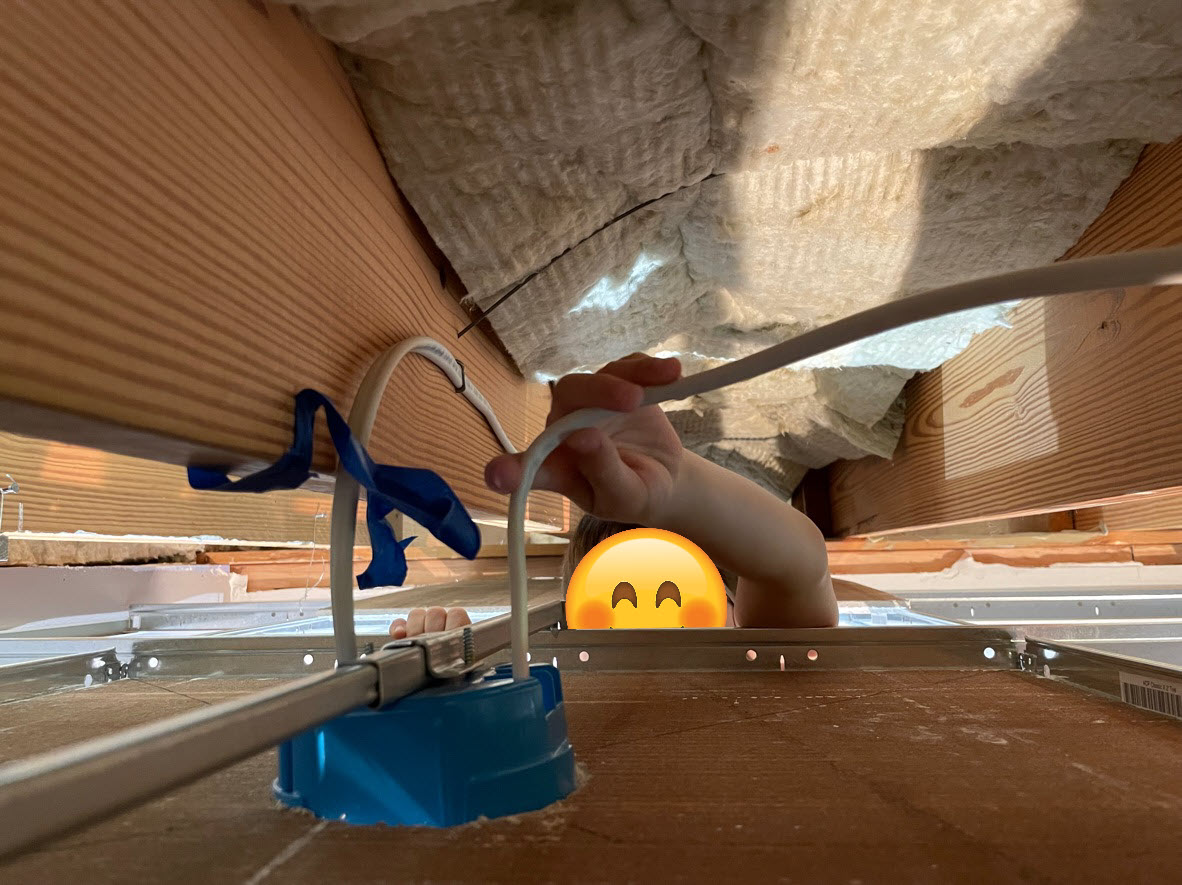
06:14 The speaker is working on fixing a pipe and plans to solder a new piece in place.
The sprinkler system is still in good condition.
The speaker purchased a piece of 1/2-inch pipe from Lowe’s.
They are using a husky cutter to cut out the old pipe.
The speaker plans to solder the new pipe in place using tinning flux and solder wire.
09:21 The video shows the process of using a torch to melt copper wire onto a snowboard, with some mishaps along the way.
The person lights up a torch to melt the copper wire onto the snowboard.
They accidentally melt the snowboard in the process.
They continue to apply the wire to the copper until it starts to discolor.
They notice steam coming out, indicating a problem with water in the line.
Despite some mishaps, they managed to successfully apply the liquid metal onto the painting.
12:28 The artist is experimenting with melted metal on a painting.
The artist didn’t initially want melted metal on the painting but decided to try it.
Some parts of the painting have liquid metal splatter.
The artist cleans off the discoloration on the painting with a wet rag.
15:35 The speaker discusses a plumbing issue that caused potential damage to their painting, but they were able to fix it by soldering a new piece of metal into the line above it.
The shut-off valve for the water was failing, which could have caused damage to the painting.
The speaker soldered a new piece of metal into the line above the painting to fix the issue.
Some silver tinning came off the painting while applying gel medium, causing concern.
[END MONICA AI CONTENT]
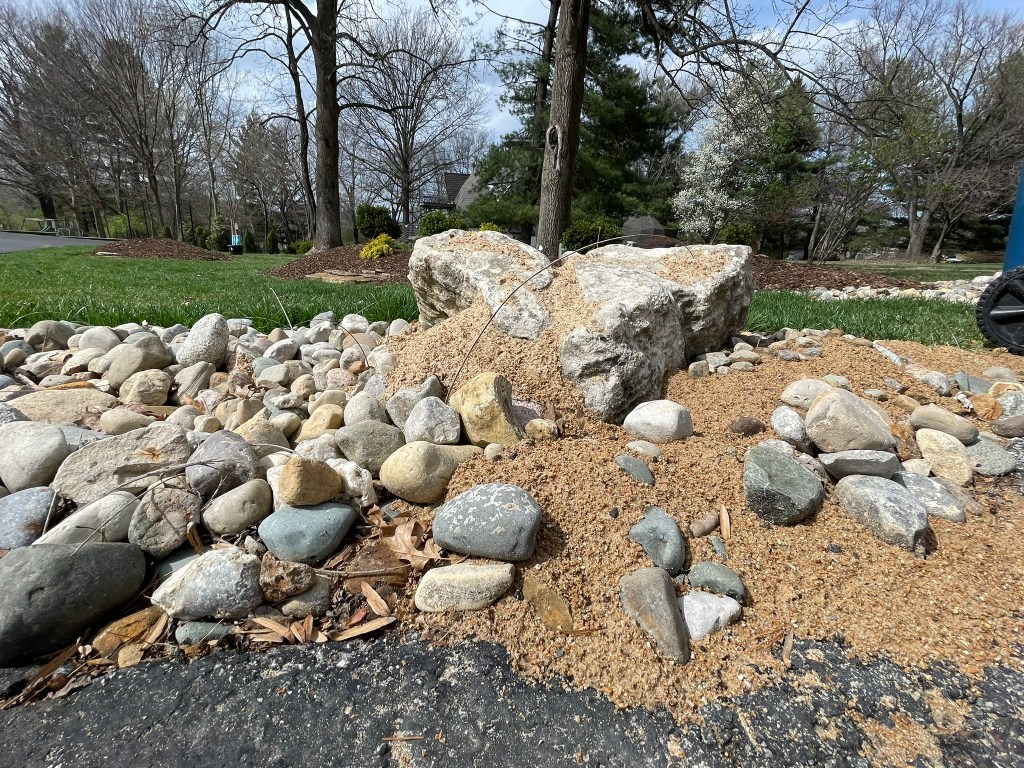
Beach Photos
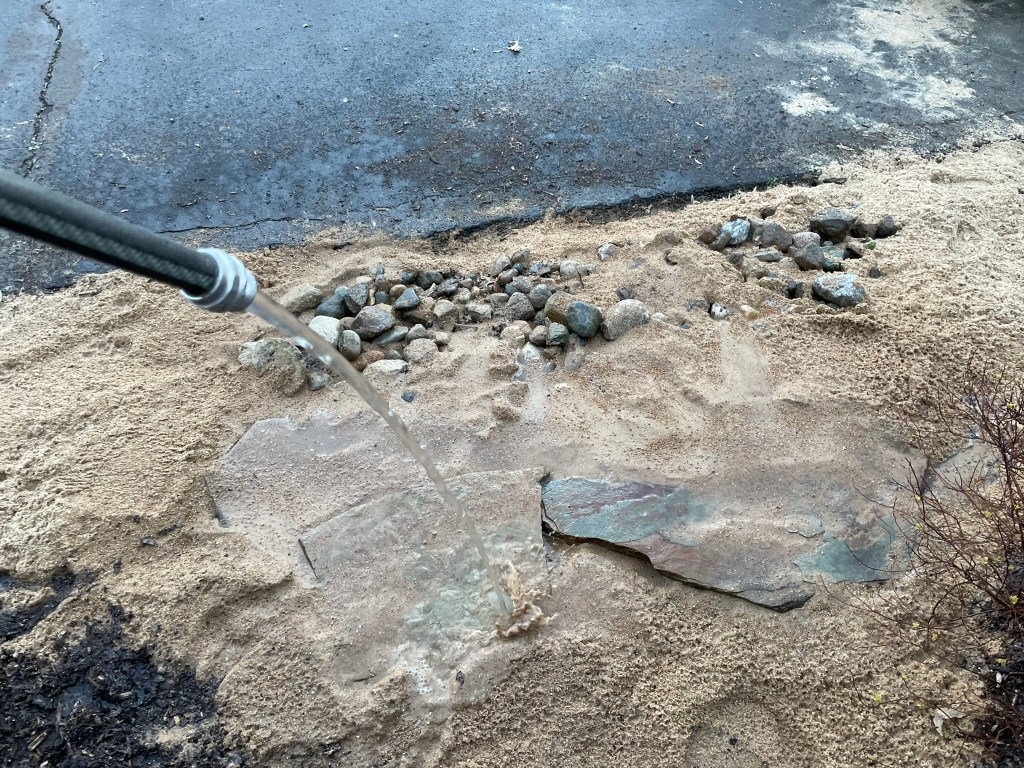
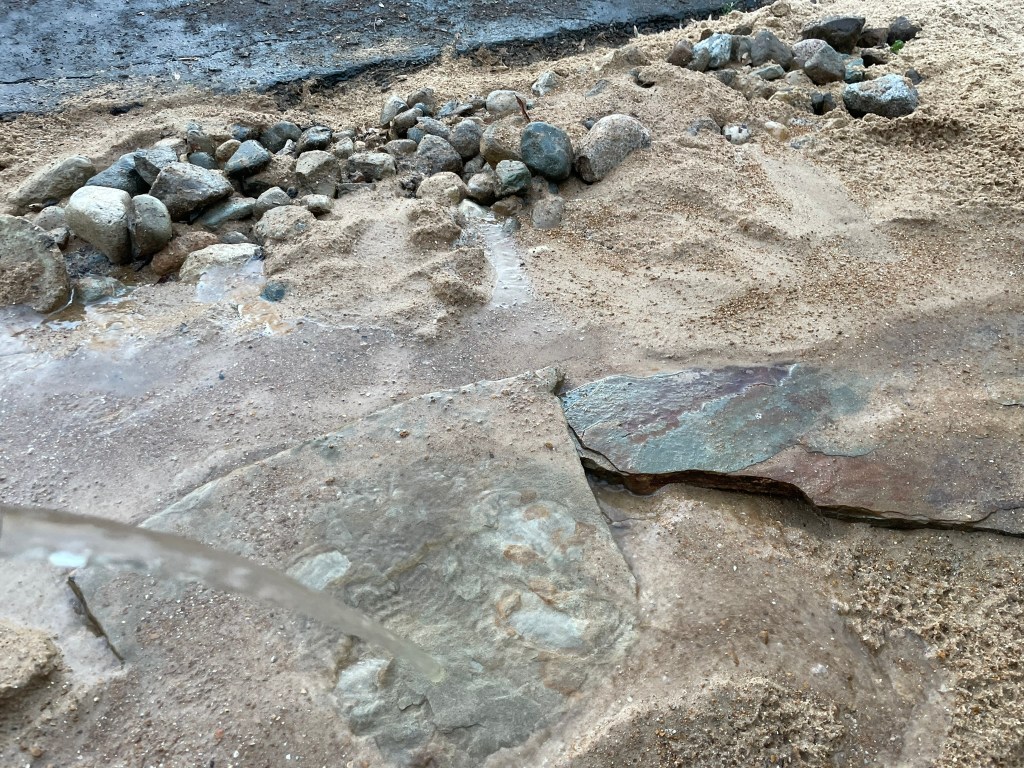
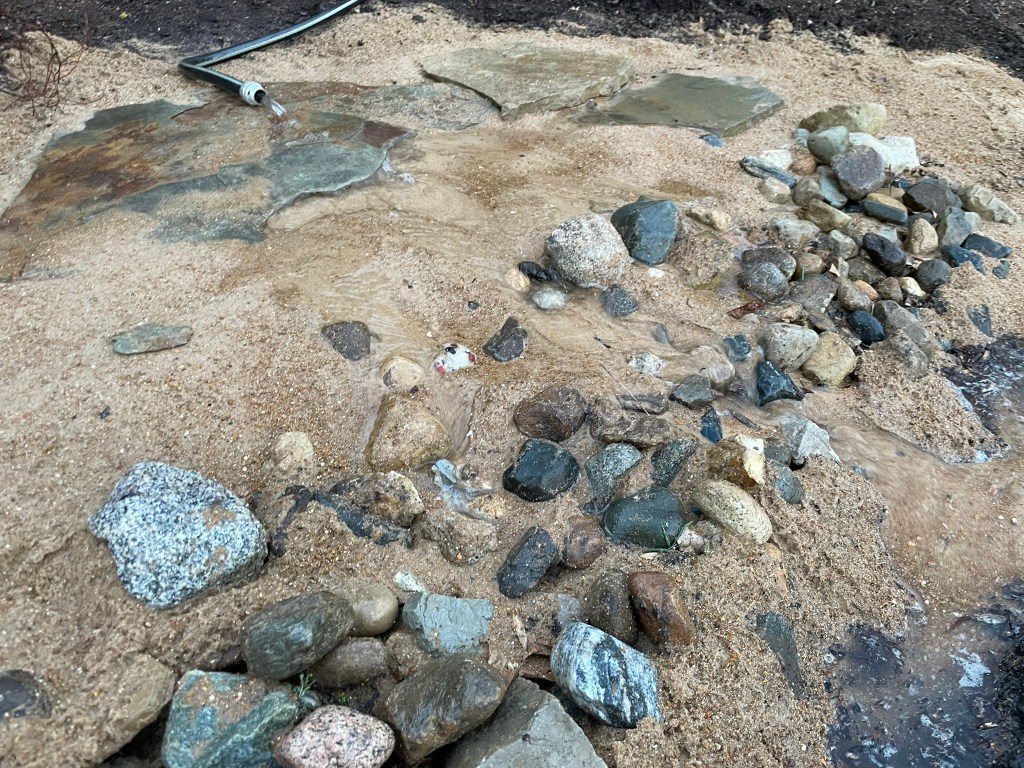
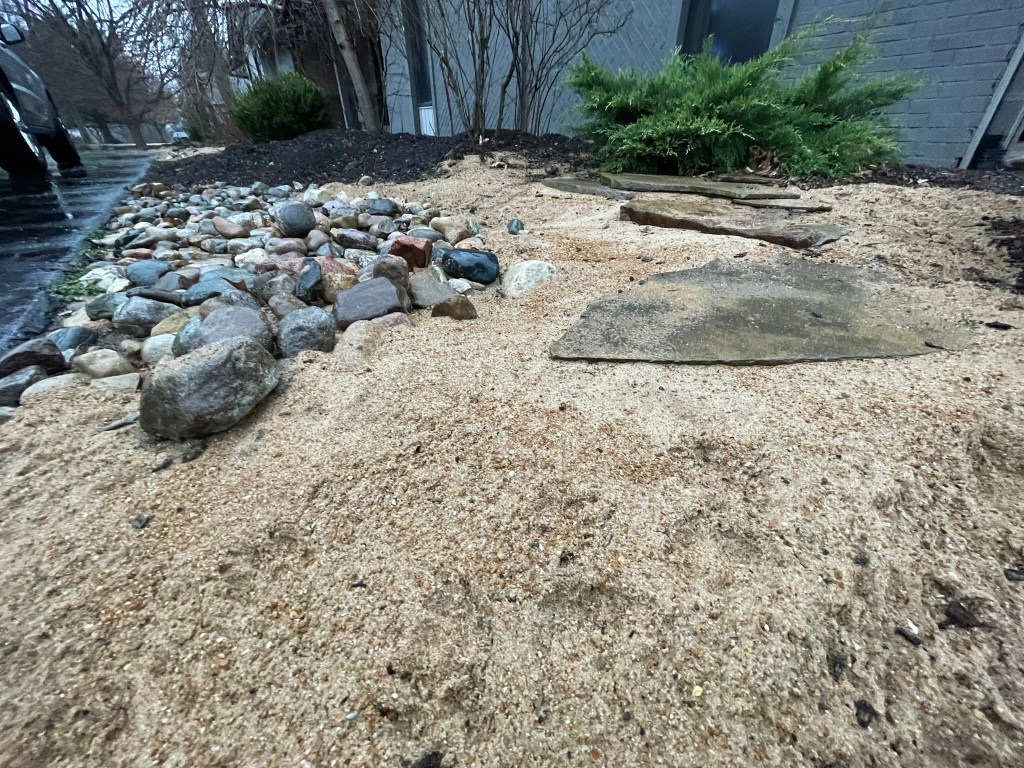
I can Beach. I bought a ton of sand but I still need to purchase the second ton of sand after it stops raining all the time. I am strong, but there is no reason to shovel sand when it is wet a second time. That gets heavy!
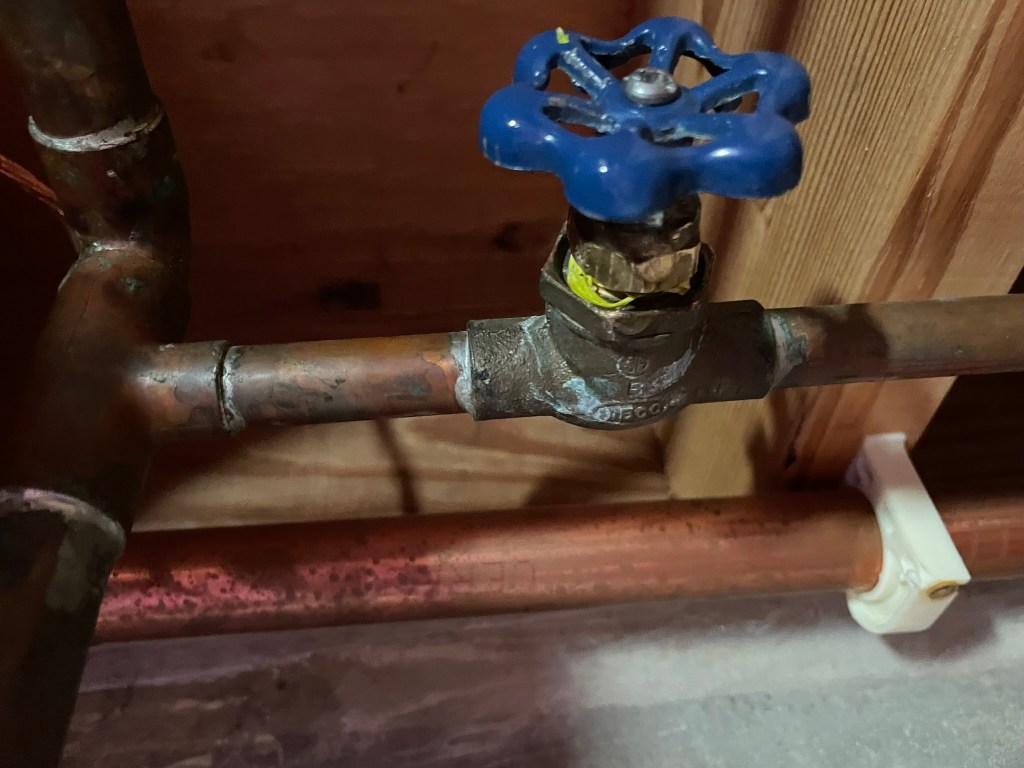
Soldering Copper Water Pipe Photos
Here is a photograph of the old gate valve that stopped working last winter (2023), I simply shut it off and opened the bleeder valve planning to fix it in the spring (2024 / Now).
Here are two shots of the final product with the ball valve I installed in the video. (I learned I should work on my home improvement instructional video skills.)
Abstract Painting Photos
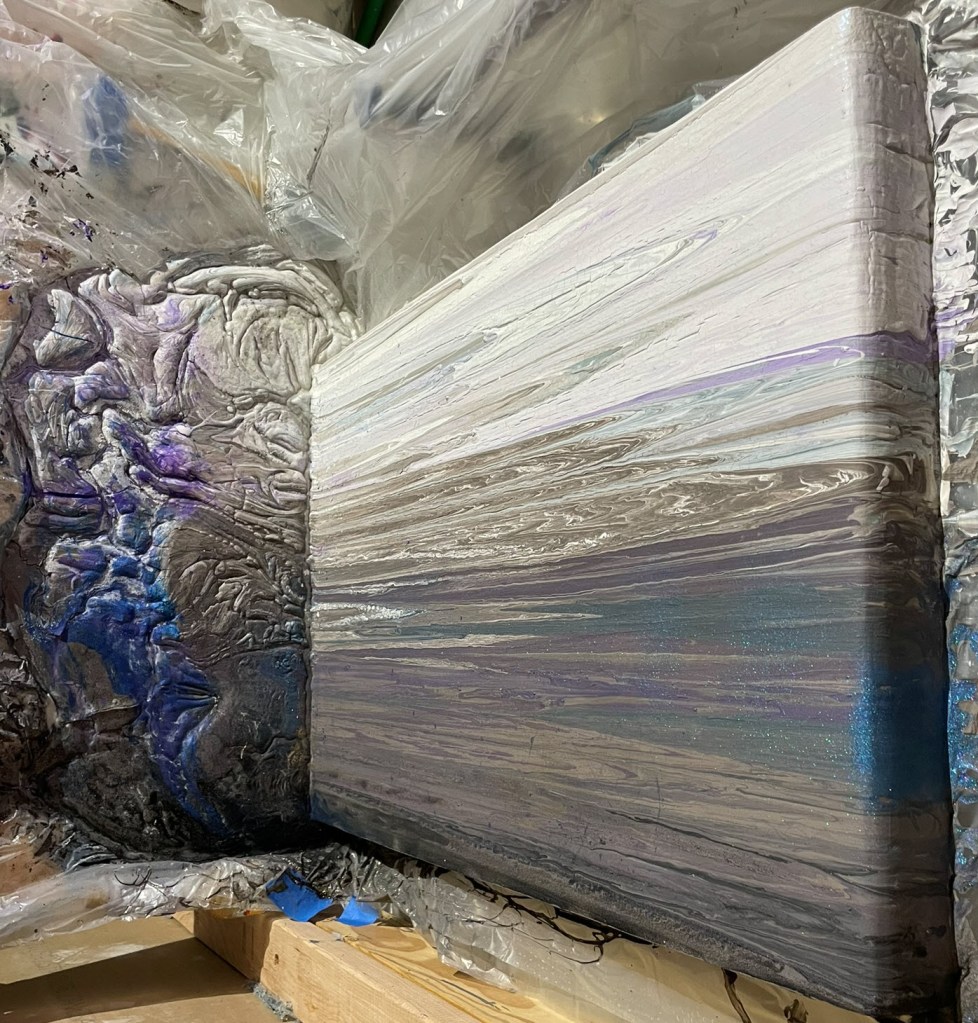
I have been trying for a while now to find a way to create “A Painting that Moves“. I am still unsure if I have gotten there, but I am getting closer. I have a history of painting abstract waterfalls on flat canvas, but now I am creating a support to drop the paint down where the paint spills as the waterfall. The paint would spill off the support onto the plastic liner so now I am crafting a support that has a 90-degree angle so the “Spilage” can be captured into the final piece.
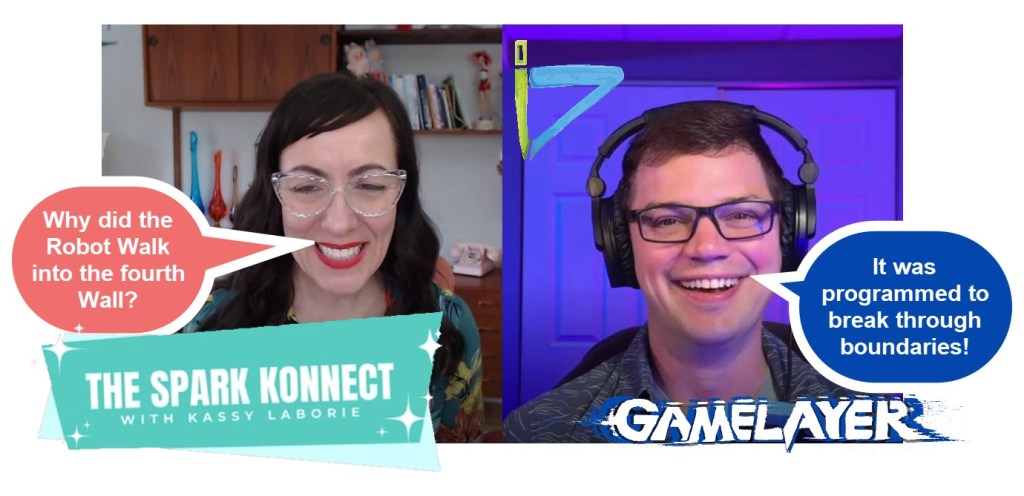
The excess or runoff pool is quickly becoming my favorite part of these “gravity paintings.” I am spending more time making sure the pool below looks right and adding more color and texture to draw the observer’s eye to that aspect of the painting. These paintings are breaking the 4th wall in a way because they are working into the 3rd dimension and that is exciting to me.
Front View
Top View
These paintings hang “Sideways”, if you want to see more about that I have a video on that here.
I have found an artistic outlet through painting for years now. I really started painting a lot in 2005, when I lived in Lampang Thailand, and broke my foot. I had nothing to do and was not able to get around very well, so I used painting to pass the time and perhaps it aided me in the healing process.
I don’t have a very strong online art presence, but I do have an Etsy shop and a Facebook Page.
Improvement is something that always sounds good up front. The concept is wonderful, you will end up with something better than what you started with… Who wouldn’t want something better than what they already have?
The flip side is that nothing worth obtaining is easy to come by. Value is determined by the scarcity of a resource or the difficulty of learning. Improvement without real work does not add real value.
This post started with a simple video I created about fixing an issue I was having with my new Scarlet 4i4 audio interface recording into only one ear, (which is still how the post ends.)
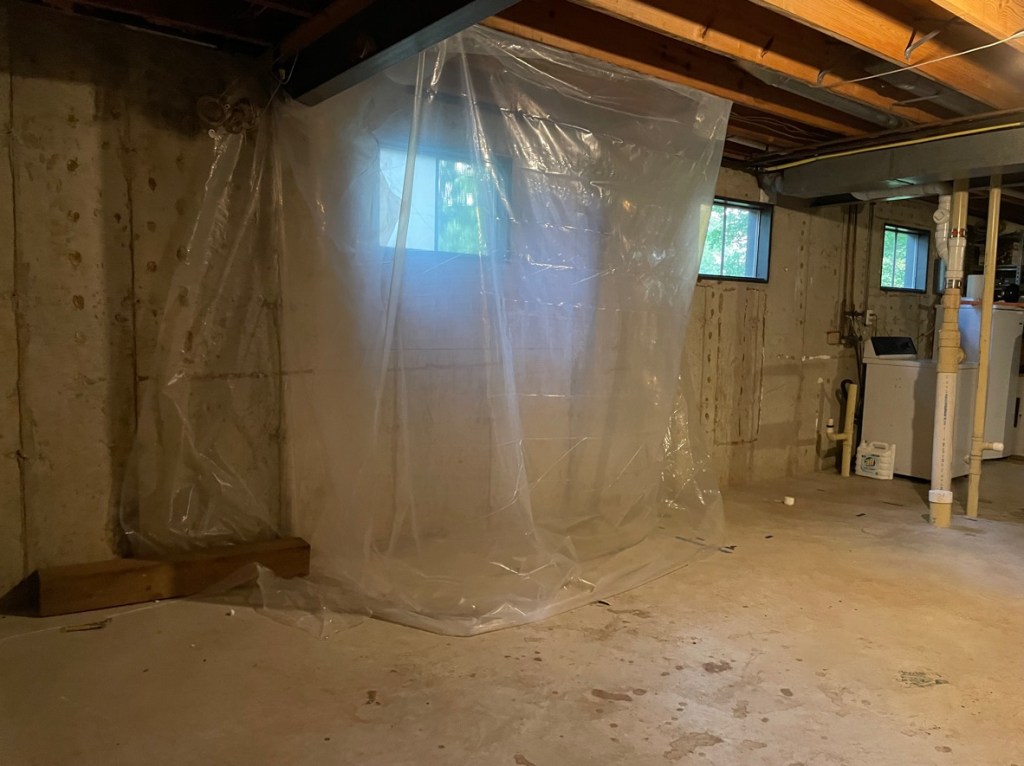
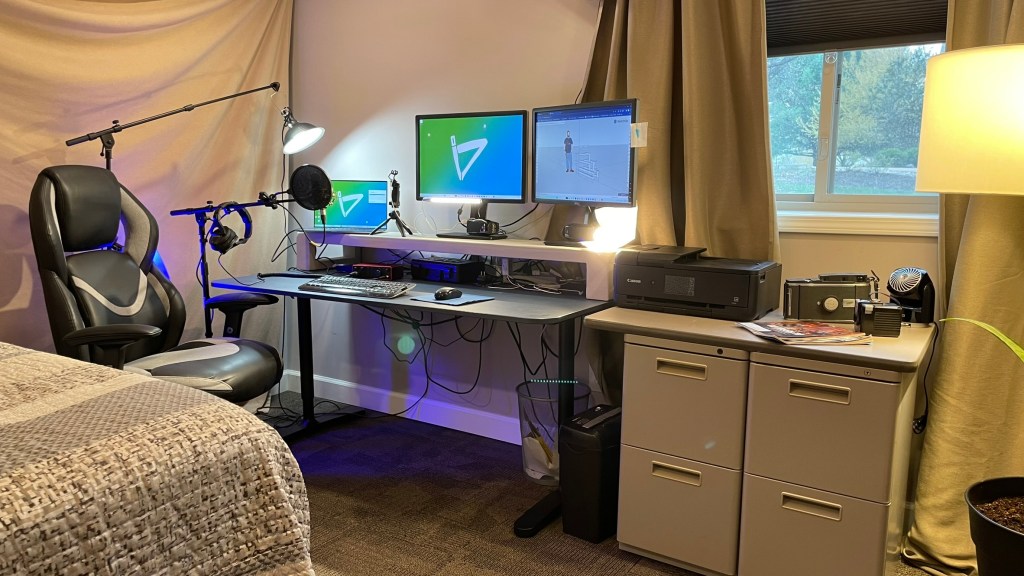
Basement Office
As I told this story it caused me to work backward into describing all the work I did to build the sound booth I put in my basement. So, to integrate the process I took my time and told more of the story. This increased the quality of this post and I hope it adds more value to the reader. The pictures of me building my sound booth included the work on the bathroom adjacent to the home office/sound booth/guest room, so I included that work because it is part of the same story.
As I worked backward from making iterations on my sound stage I realized I hadn’t shared all the work I did on that room to get it where it is today. So I developed this second video as a retro-montage. I cover the steps in this video in more detail in the rest of the Blog post below.
This video covers cutting cement with gas saws, adding an egress window, leveling the floor, adding a jetted tub, and finishing the project. Content on sound-proofing is below.
Adding Value
When I put in the muted office space in my basement I did three things:
I added an egress window.
I “soundproofed” the walls with Mineral Wool & decoupling pads.
Hung a suspended ceiling.
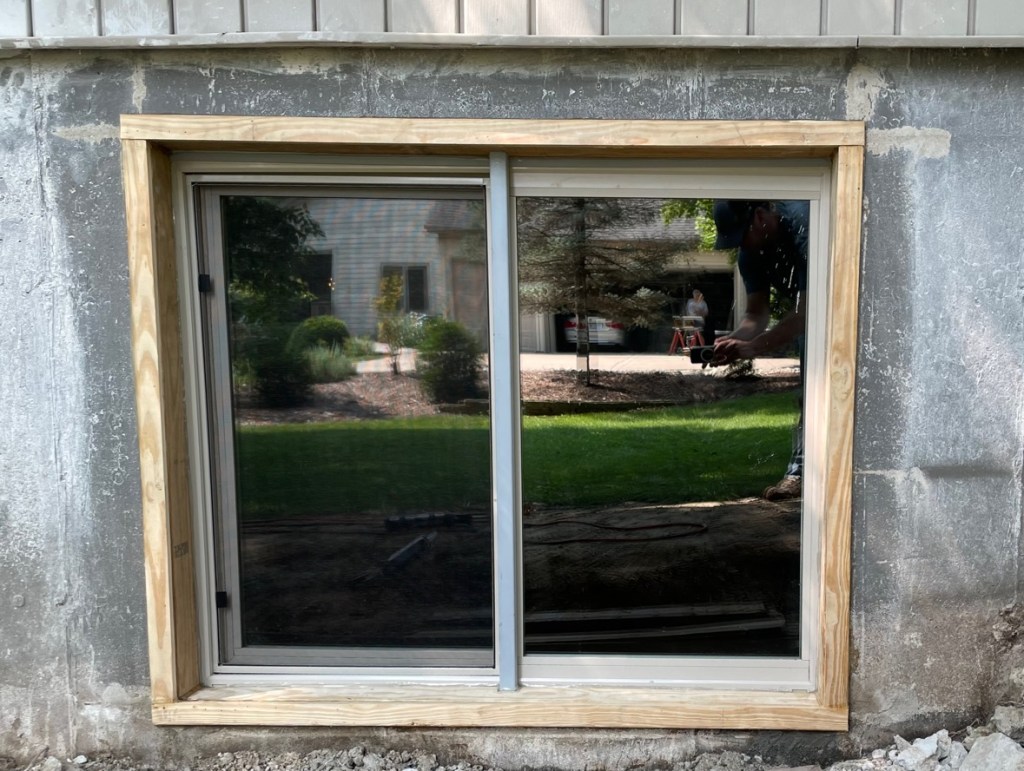
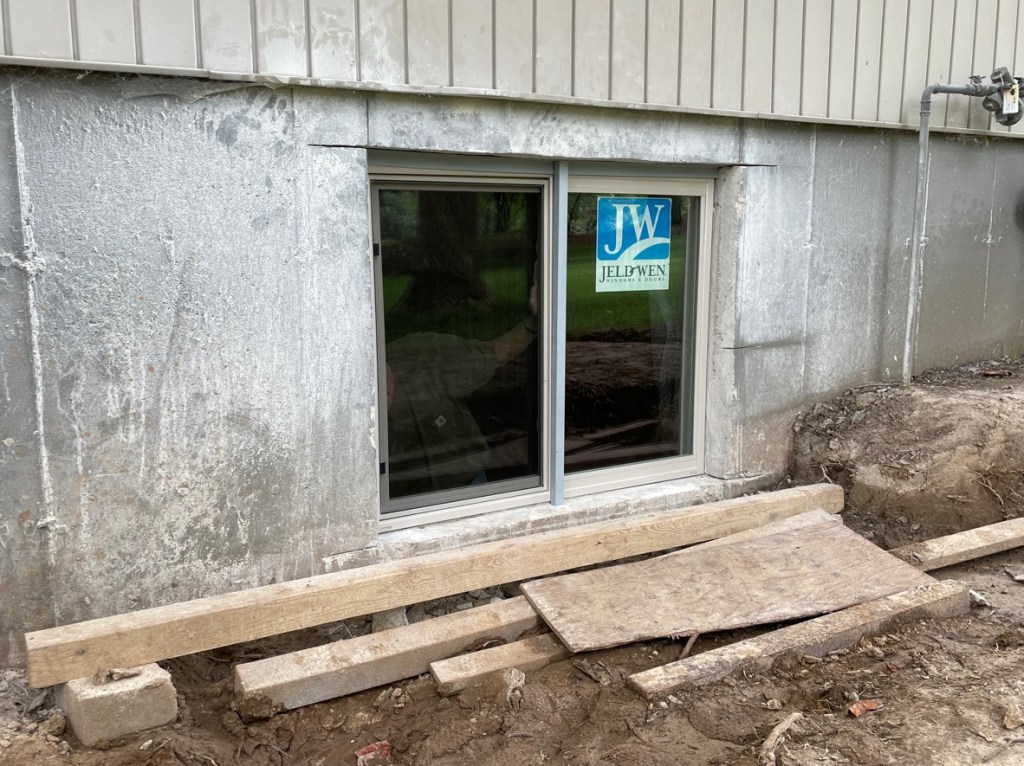
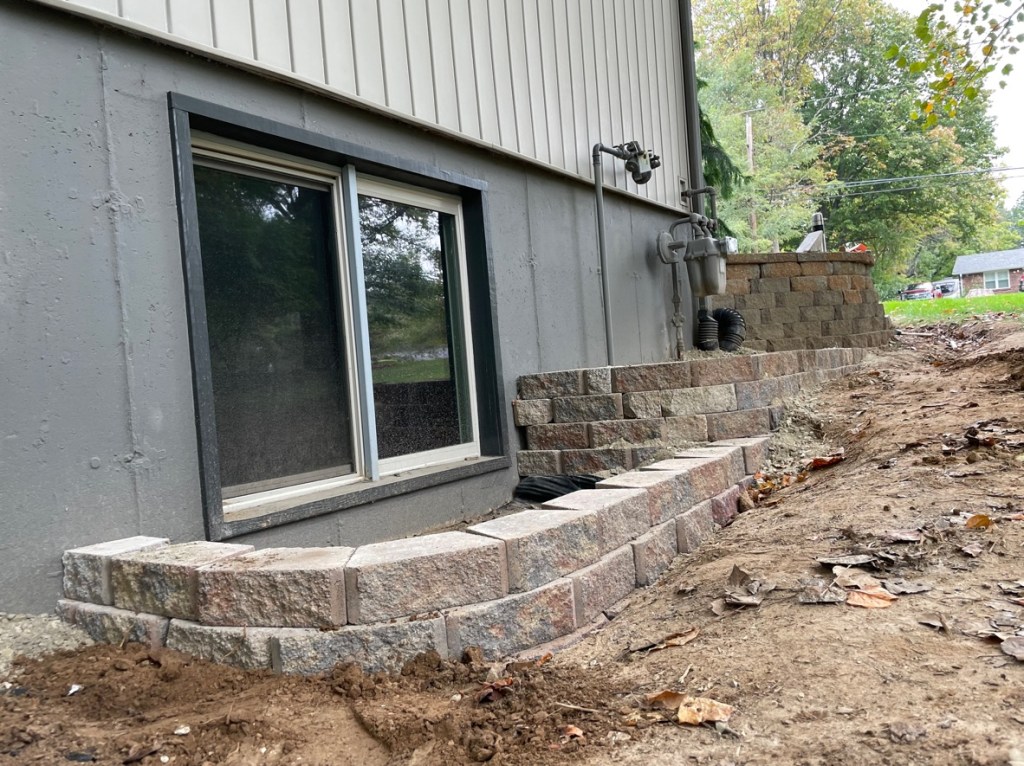
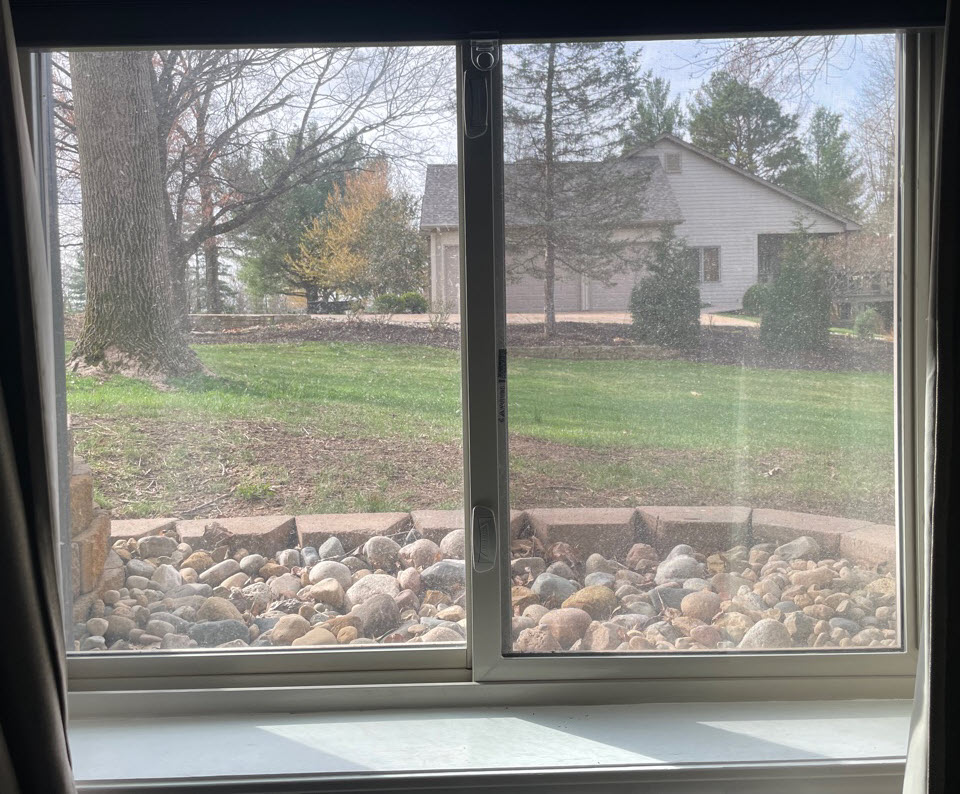
Egress Window
I could have saved some time hiring someone else to put in an egress window but I saved a lot of money leveraging the knowledge, skill, and power of my dad, Mike Kolmer, and my friend (and CPA) Jon Carns.
This is what we had when we started:
I rented a gas-powered circular saw with a massive diamond-crusted blade and made cuts from inside and outside. Unfortunately, the cuts didn’t allow the block to fall outward so we had to knock it out with sledgehammers. Below is what we did ending with the updated egress window.
Why Add an Egress Window?
There are many benefits to adding an egress window into a basement, they are beauty, safety, and, income.
Beauty
It is very nice to have a big window in a basement room because it lets plenty of natural light into the room and makes it feel much less like a basement.
Safety
There is also the safety concern of a fire where people could escape from the window if there was a fire.
Income
This is related to the law around listing a room as a bedroom when renting or selling the property. If you have an egress window that meets local code requirements (a certain height from the floor, a big enough opening to crawl out of, and a certain size based on the size of the room,) then you can call it a bedroom! That will raise the monthly rent you can charge and or the selling price of the property.
What I learned…
…is that if I do this again I will pay more for a cement saw with a mount that cuts at a perfect 90-degree angle. They also have lasers on them, so I would also require that it has lasers, not because that is very important but because it is amazing.
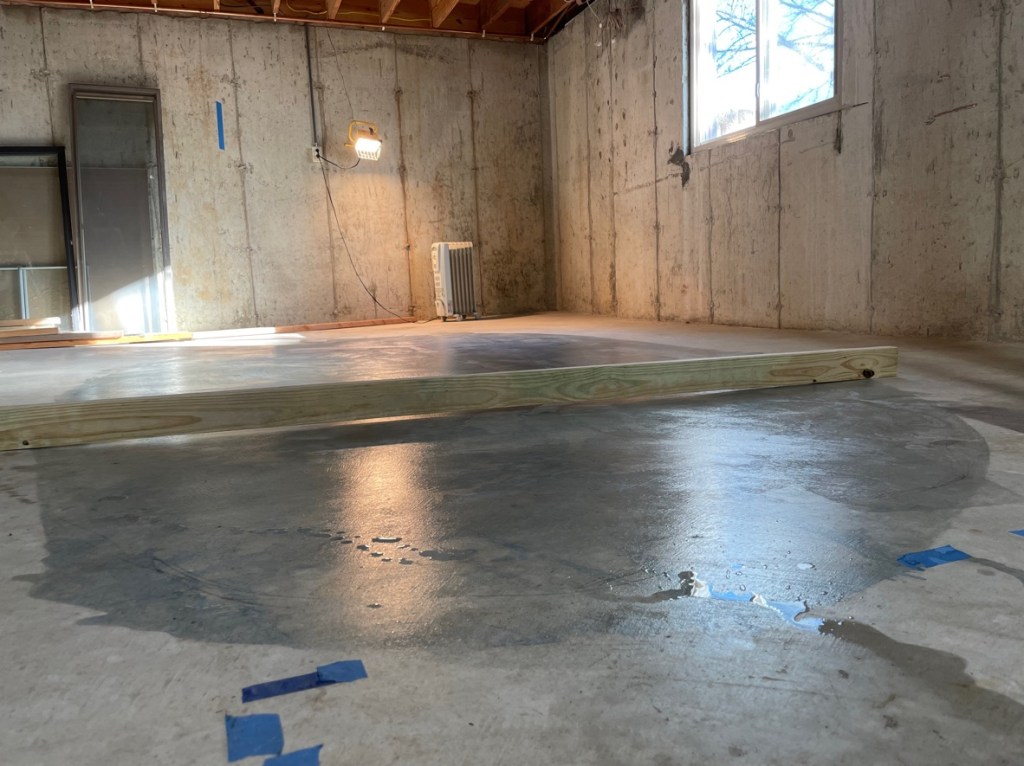
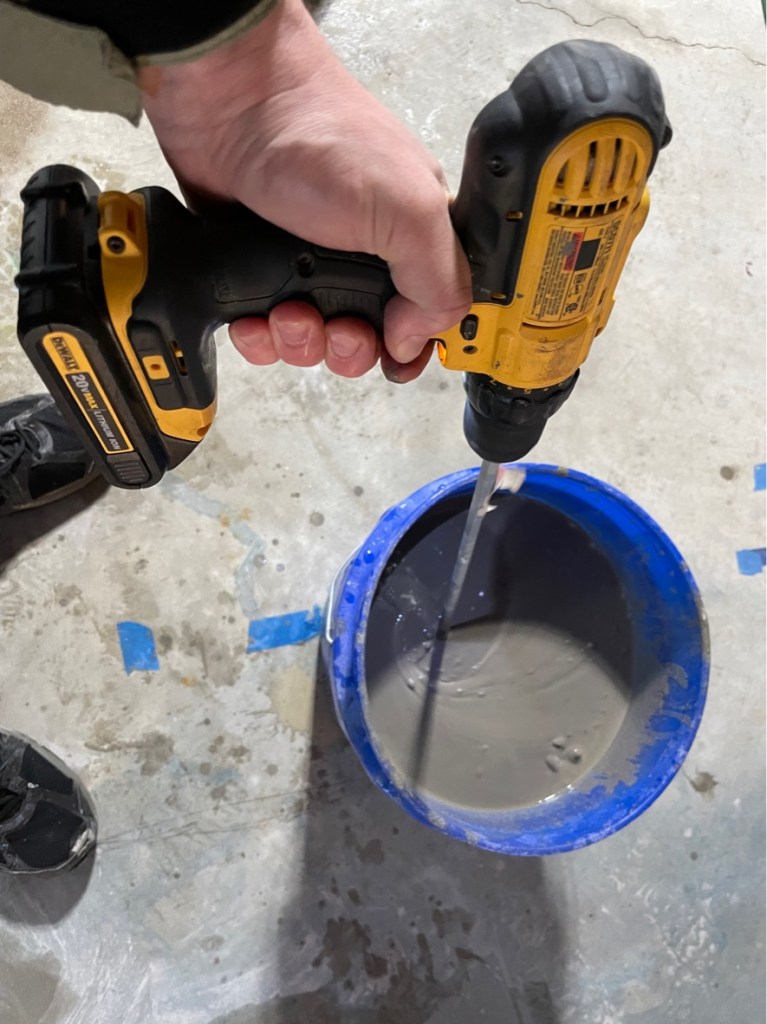
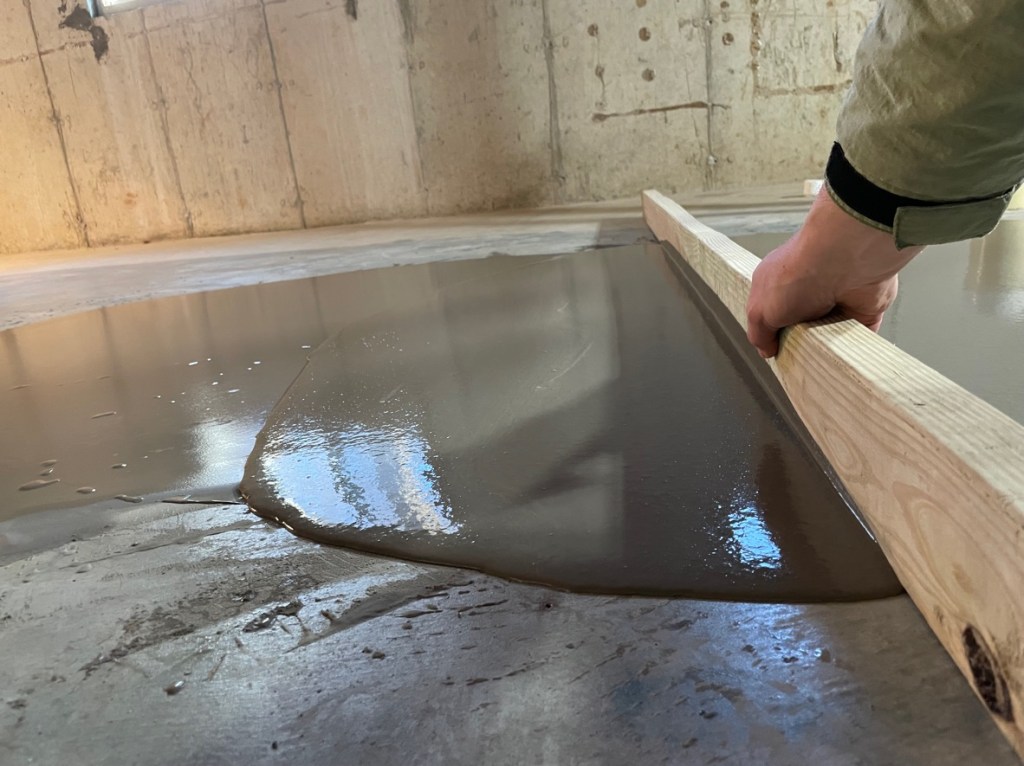
Level the Playing Ground
After putting in the window I leveled the floor with some self-leveling cement. The first step is to paint down some primer rated for self-leveling cement. (Left below) Then mix the cement. (Center below) Lastly, pour and spread with a board. (Right, below)
Words cannot express how satisfying it was to pour very liquid cement on the floor of my basement and strike it out to level the floor.
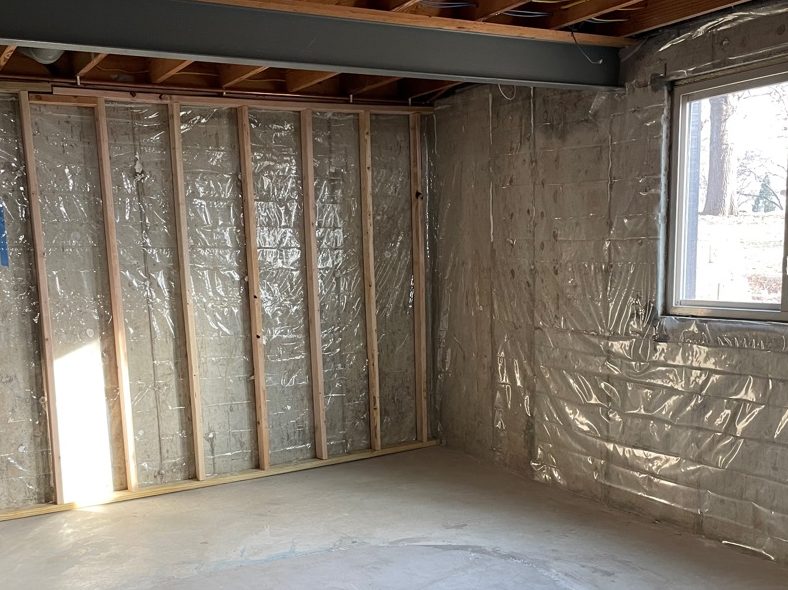
After the Egress window was in and I felt better about the dip in the floor, I hung some 10 mil sheet plastic as a moisture barrier with “liquid nails” industrial caulk.
The next step was to put up some stud walls with pine 2″X4″ lumber. I used pressure-treated lumber on the bottom board because those hold up to moisture better than the cheaper untreated boards I used for the studs and the top plate.
Sound-Proofed the Room
So, I am using the term sound-proofed lightly here. I merely dampened the sound entering and reverberating within the room. If I had “soundproofed” my office that would have cost several tens of thousands of dollars, but I will say that my office is quiet and mute, and there are still things I could do to reduce the noise floor of the space.
Rockwool Insulation and Wool Pads
I also filled the walls and ceiling with Rockwool insulation. This fiber made from minerals adds additional sound absorption.
If you look closely at the pictures on the right, above, I also added wool strips between the gypsum drywall sheets and the studs in the whole room, and across the hall on the wall in front of the HVAC. All this was done to make the room mute and dampen sounds from outside.
There are definitely more complicated and much more expensive ways to decouple the drywall from the wooden stud, however, these wool pads worked and I purchased them at a clearance price at Menards. Whenever I upgrade a house I always look for the option with a good value. It’s not the fanciest system, but it did the job well and cost me almost nothing to implement.
Then, after hanging the drywall over the studs we hung a suspended ceiling. Luckily my (then) 5-year-old son had experience with this. He had also wired a few houses by then, which was helpful.
Yes, I am joking, this was his first experience hanging suspended ceilings and wiring LED light fixtures, but it’s never too early to learn how to build sweat equity in real estate, especially in an owner-occupied property!
That brings us up to 2014, and a lot has happened in the room where I am currently sitting, writing this blog post. For starters, I work from home in this room.
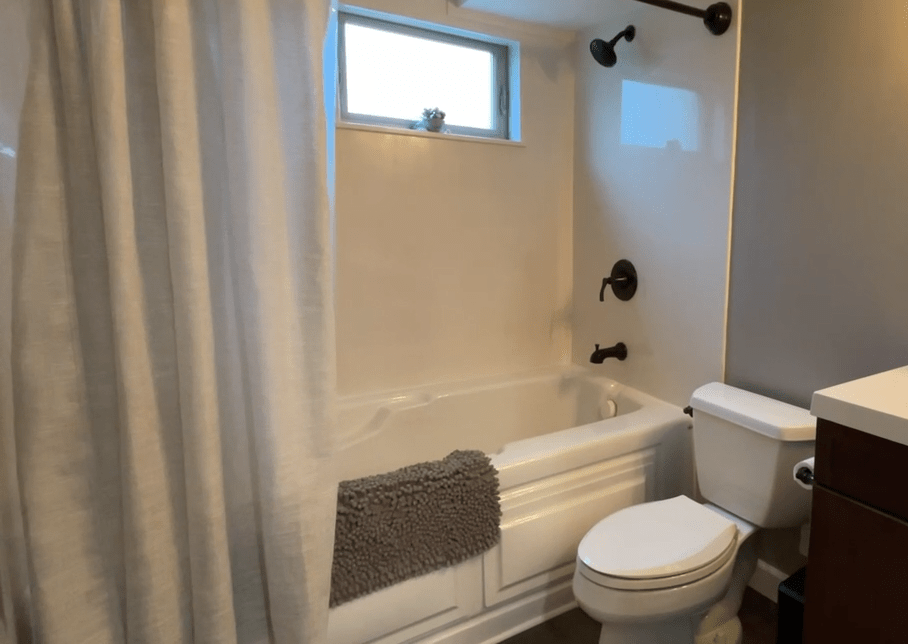
Jetted Tub
We installed a jetted tub! So, this has nothing to do with building my sound booth, but the work happened alongside the sound booth work, so it ended up in the retro montage video I opened this post with. This addition was less substantial overall but it is something that I use all the time to unwind and relax.
I have used this tub to take hot Epsom Salt baths, but it has also come in handy for ice water baths for muscle recovery, and a fun bath for the kids!
How I am Improving My Sound Booth Today
Sound in One Ear Using Camo Studio Pro with Focusrite Scarlet 4i4
in the original Video, I shot for this post, I looked further into a complication with my sound setup. It took me quite a bit of time to solve this issue. I wasn’t sure which sound setting was causing my audio to record into only the left channel.
At first, I thought this issue was with the Focusrite Scarlet 4i4 digital sound input. So I was looking at the audio settings in the app interface for that device, and they were not fixing the issue. in the end, I discovered a setting in the Camo Studio application (which I’m using to implement my cell phone as an HD camera), that caused the single audio channel in the final recording.
In this video, you can see me explaining this issue in detail, and I start with how I solved this issue, then I include all of the tests I ran while I was trying to understand why I was having this error. I ended the video with a humorous project I completed for work where I had to quickly put together a video that had sound in only one channel. At the end of this video, the movement of my lips is not synced with the sound, and it is disorienting. Unfortunately, this video was already published to the members of our organization before I realized I had made this error. this clarifies why it was so vital for me to solve this opportunity. #CamoStudioPro #FocusriteScarlet4i4 #focusritescarlett #Focusrite #Scarlet4i4 #Camostudio
Conclusion
This year I am focused on integrating the separate parts of my life. I have many interests and often do not have enough time to allocate to all of them adequately. Integration has become about clearly identifying the things I like to do and spending more time on them, so I can do them well. My interests in sound design, video, learning content, real estate, art, landscaping, and spending time with my family have all contributed to the success of this sound stage that I have built. There will always be ways to make it even quieter and find better ways to increase the quality of my videos. I must not let the idea of those things that I still plan to do demotivate or distract me from things I am doing today.
I am choosing a word for each year and this is my post for 2024.
The ending of 2022 was about Honesty, mostly with myself but also with other people.
Then 2023 was about Consistency. I spent the year building up the consistency in my visual brand, teaching myself to model in 3D, and posting what I learned while I learned it in a 30-day 3D Model Challenge. In August I consistently posted for St. Jude charity with my Push-Ups for St. Jude where I did 50 pushups a day and they were not always pretty, but I posted all the videos anyway and raised over $537 US. Then in September, I went cycling as frequently as I could and posted as many videos as I could for my Consistently Cycling More often in September 2023 series. I received feedback from my English-speaking friends from the UK that biking is not used for the act of cycling in proper English so as to not confuse my English friends and colleagues I changed the title of those halfway through, so the early ones have “Biking” in the title. That was not very consistent of me!
Sprinkled around the year I posted about my health journey and even summarized the whole thing in my final post of 2023 Consistently Well.
Throughout the year I learned a lot about consistency. About what it meant to post to my blog consistently. How to consistently show up for my kids and my family. The main thing I learned was that consistency was less about a 30-day challenge, or posting every day on a blog. Consistency was about finding my true self and being that authentic person all the time. It is funny how it just tied back to my first annual word of honesty in that way.
And at the end of 2024, I knew I wanted a word about being complete… Something about completing things, Completing the cycle, or Closing the Loop. However, the word complete itself implies too much desire to finish a specific task. It implied so much around the idea that things are not just complete the way they are, that I am not complete as I am. That is not where I wanted to take this discussion. So, later I came up with the word connection or connected and I liked that word. That is until I remembered we are building an intranet at work and probably calling it Connect or Connections, so I wondered if my subconscious had just picked up that language from that project, and wanted this project to be separate from that. …So, it was New Year’s Eve and I still didn’t have a word I liked.
Then on New Year’s Day, I did some YouTube Yoga with my wife. We like to practice 30-day Yoga challenges with Yoga with Yoga With Adriene. While doing yoga Adriene called out the word of being integrated. Having the movement, the breath, and the mind all integrated, and at once I knew that was my word for 2024.
May 2024 be my year of integration.
Integrated
Improving my process
Improving the equipment I use
Connecting with my family, friends, and colleagues on a deeper and more meaningful level
Connected
Connect with my craft, my interests, and my Dad by creating learning content around real estate and not only why you should get involved in it, but how you can get started.
Complete
Complete posts I started on in 2023 that I wasn’t ready to create. Posts that belonged in the year of integration, not the year of consistency. Posts about the process, about art, about creation.
Complete art:
“If you have an idea you’re excited about and you don’t bring it to life, it’s not uncommon for the idea to find its voice through another maker. This isn’t because the other artist stole your idea, but because the idea’s time has come.”
I want to start by thanking my inspiration for choosing the word Consistency as my word for 2023. I got the idea of choosing the word from the great instructional designer Stephanie Gerald, who I guess is now passing the bar to be a lawyer so soon-to-be great ID and lawyer! I have the amazing Betty Dannewitz to thank for the idea of using the word Consistency from her amazing episode on creating a brand with the expressive Tim Slade, who clearly stated the need to be consistent in your brand on the If You Ask Betty Podcast. Credit where credit is due!
In this Vlog post, I explain why I chose to create my own logo and argue why creating things for myself works for me and aligns with my brand. I backpedal to September 25th, 2023 which was the height of my 50 Pushups a Day Challenge for St. Jude’s Research Hospital. It was about that time that I completed the design of my logo and you can see it was first used on Day 26 of that same challenge where I also praised the use of our subconscious mind.
In this video, I have three reasons why I argue creating your own logo is the best choice. (If you are at all inclined and have the resources to do so.)
Creative Control
The first benefit of designing your own logo is that you are in control of what it is and what it becomes.
You are in control of the whole process from design to export.
You made the product, it is now a part of you. You are connected with it.
You know it’s strengths you know it’s weaknesses.
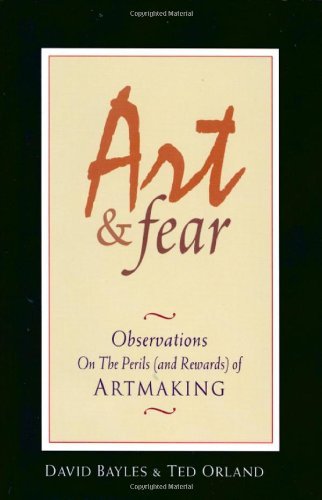
In the video, I explain you have to turn off the editor and invite the muse into the room to create something. Then invite the editor back into the room to resume editorial functions. I drew this concept from the book: “Art and Fear” by David Bayles, and Ted Orland.
This book is fantastic and I can not recommend it enough. I might talk about his book with people I know and people I meet on the street or in airports, more than any other book. I guess you could say at this point, “This is my book.”
Financial Benefit
I saved money. I didn’t spend any money, I only spent time.
Money saved = Money earned.
I paid myself to create this logo, by not paying someone else to do it.
As promised here is the Freakonomics Episode: “Everything You Always Wanted to Know About Money (But Were Afraid to Ask)” with a super-smart economist about spending less on trash bags. (Well, the trash bag part might not be in there, I might have made the trash bag analogy up, or it was from another expert on Freakonomics.) However, this episode still supports my point that spending less is good and is the same as making more money. (They also talk about how to invest money too, so that’s always good!)
It would have cost me $5 to $100 per hour to get a logo.
Did it take me an hour? No, it took 5 hours!
Do you want to see it? I recorded the whole thing! Some of the music I was listening to bled into the recording so it is not viewable in all locations. Sorry! (I am sure a VPN would help if you need to see it.)
5-hour video of my creating my own logo. (Well, 4 hours 1 minute and 37 seconds s, but it took over 5 hours and my video capture function continued to crash after 30 minutes of recording because of my RAM.)
Now, I’d like to point out again here that I am not a graphic designer (as you might have gleaned from that 5-hour video.) It might not have taken a professional graphic designer 5 hours to come up with a similar product. The value lost in that time is offset by my third point.
Moment of Learning
I gained new skills, and I had a fun time doing it! I worked in Adobe Illustrator to create this logo. (Well, first I got lost in Adobe Photoshop, applied all the filters, and got to a spot that was kind of OK.) Then I went into Adobe Illustrator.
I am not very experienced in Illustrator, but I want to be!… with Adobe’s job aids, I was able to work through the flow at my own pace and build some confidence in designing in Illustrator.
In this way, I was building skills that I can use as an instructional designer or even a graphic designer if I ever choose to do that to myself…
“Living life as an artist is a practice. You are either engaging in the practice or you’re not.
It makes no sense to say you’re not good at it. It’s like saying, “I’m not good at being a monk.” You are either living as a monk or you’re not.
We tend to think of the artist’s work as the output.
The real work of the artist is a way of being in the world.”