
Sound Advice
Improvement is something that always sounds good up front. The concept is wonderful, you will end up with something better than what you started with…
Who wouldn’t want something better than what they already have?
The flip side is that nothing worth obtaining is easy to come by.
Value is determined by the scarcity of a resource or the difficulty of learning. Improvement without real work does not add real value.
This post started with a simple video I created about fixing an issue I was having with my new Scarlet 4i4 audio interface recording into only one ear, (which is still how the post ends.)
Basement Office
As I told this story it caused me to work backward into describing all the work I did to build the sound booth I put in my basement. So, to integrate the process I took my time and told more of the story. This increased the quality of this post and I hope it adds more value to the reader. The pictures of me building my sound booth included the work on the bathroom adjacent to the home office/sound booth/guest room, so I included that work because it is part of the same story.
As I worked backward from making iterations on my sound stage I realized I hadn’t shared all the work I did on that room to get it where it is today. So I developed this second video as a retro-montage. I cover the steps in this video in more detail in the rest of the Blog post below.
Adding Value
When I put in the muted office space in my basement I did three things:
- I added an egress window.
- I “soundproofed” the walls with Mineral Wool & decoupling pads.
- Hung a suspended ceiling.
Egress Window
I could have saved some time hiring someone else to put in an egress window but I saved a lot of money leveraging the knowledge, skill, and power of my dad, Mike Kolmer, and my friend (and CPA) Jon Carns.
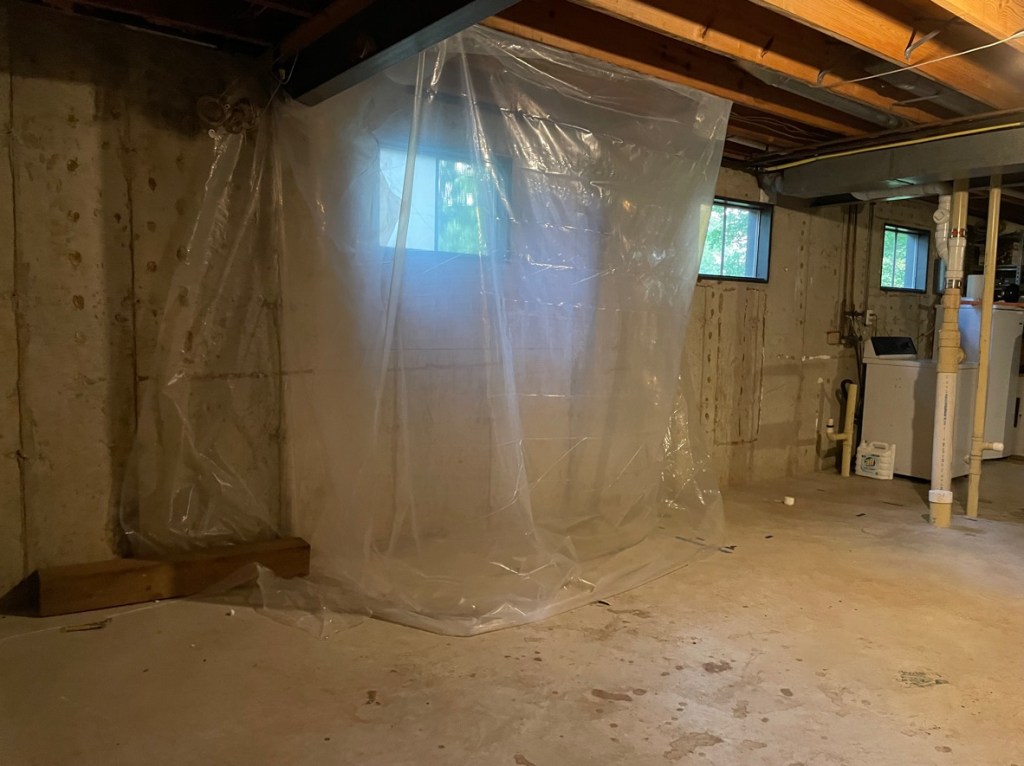
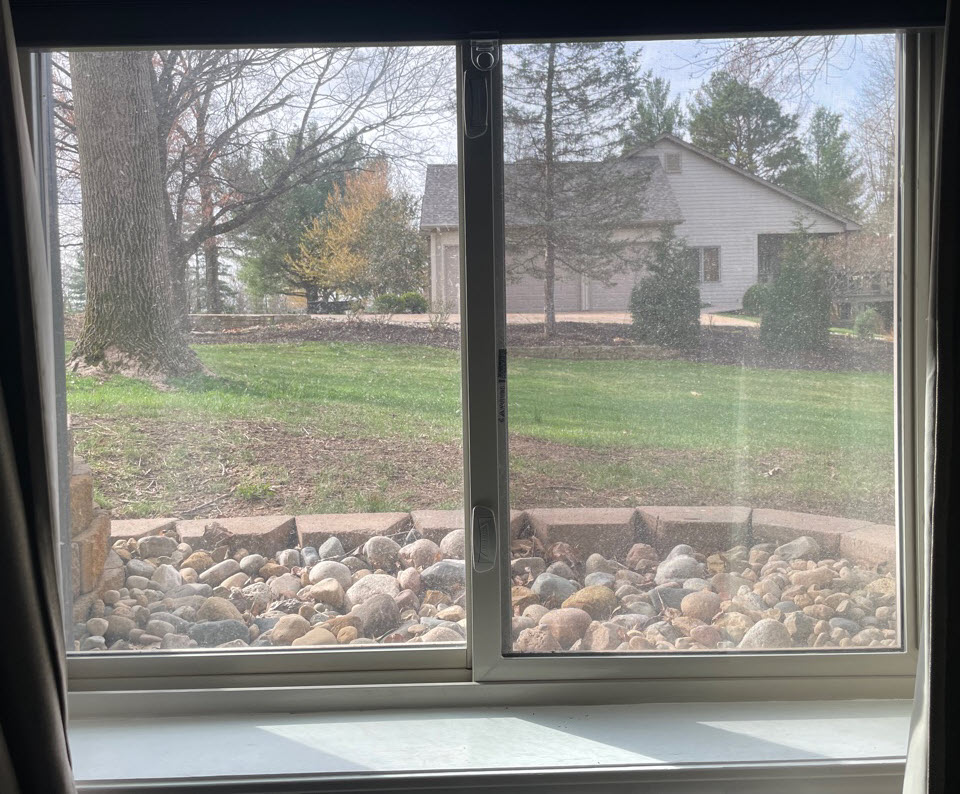
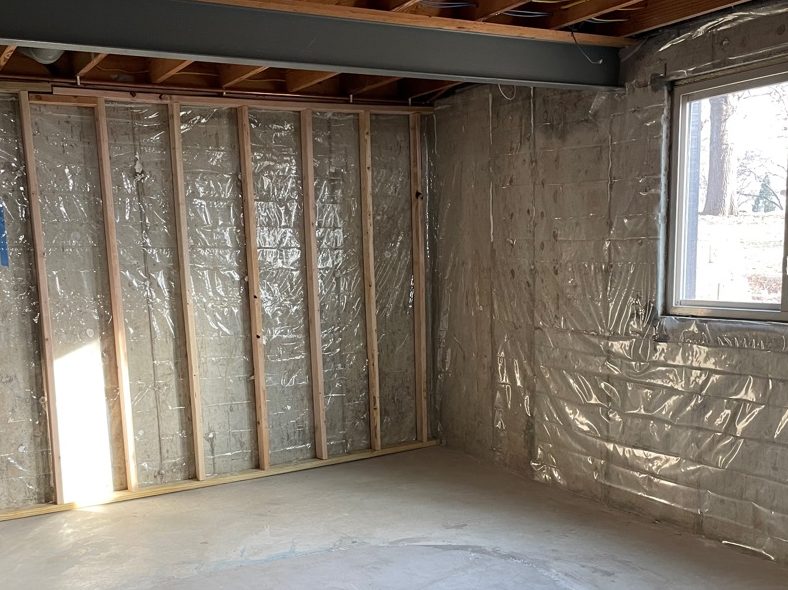
This is what we had when we started:

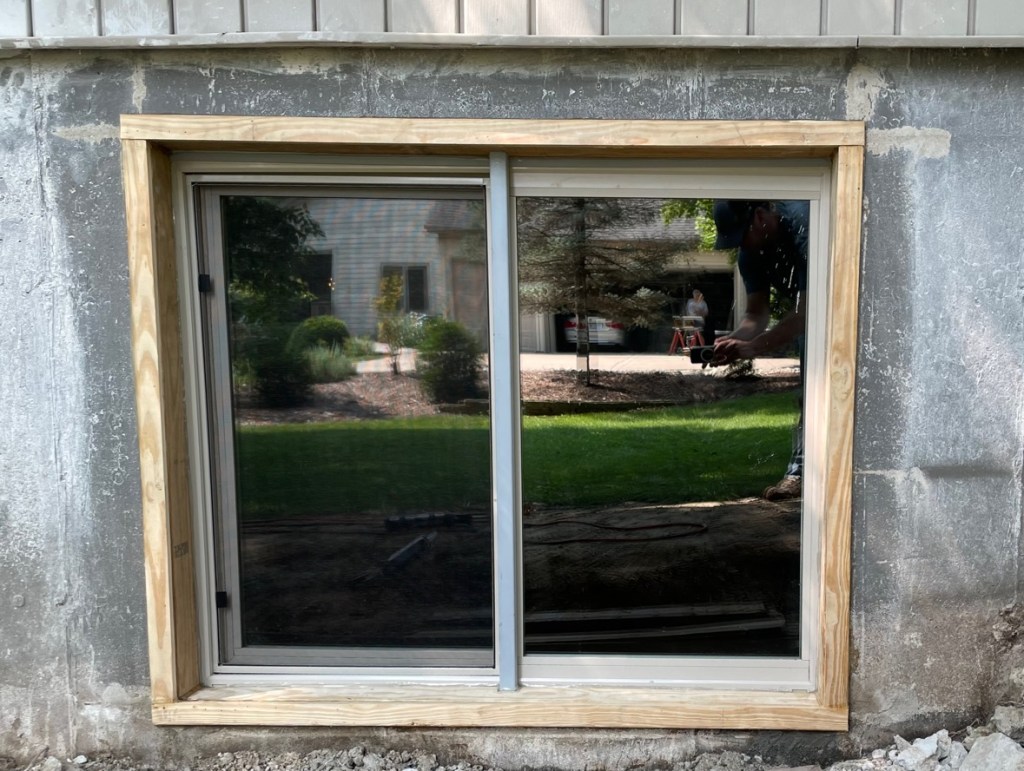
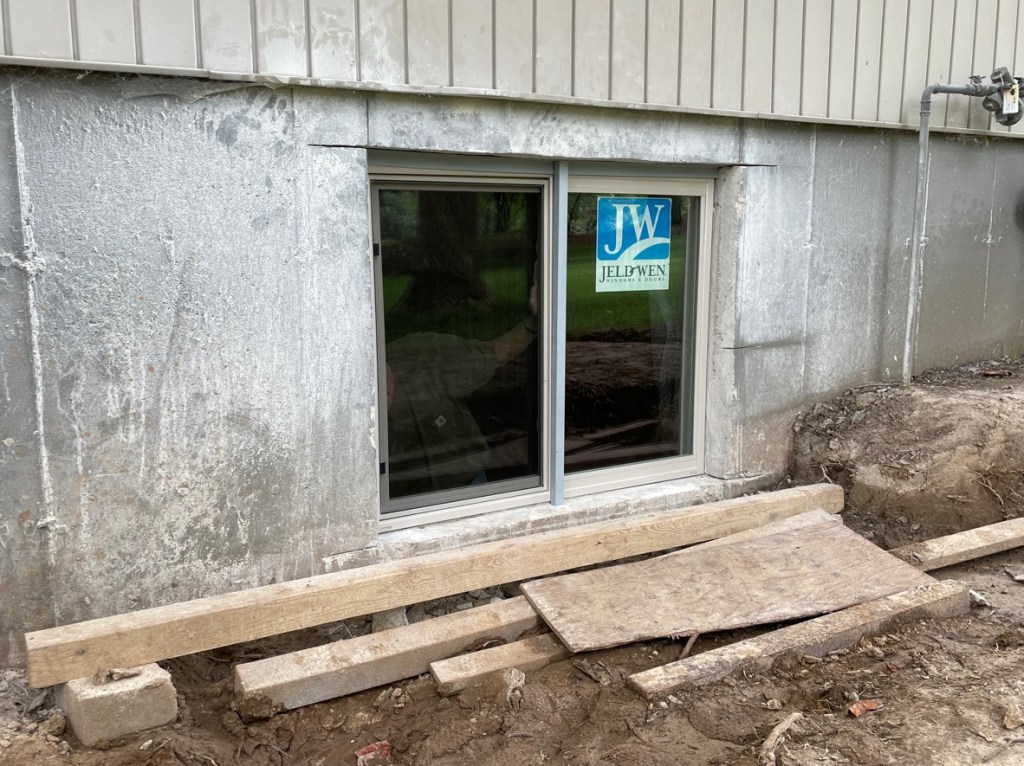
I rented a gas-powered circular saw with a massive diamond-crusted blade and made cuts from inside and outside. Unfortunately, the cuts didn’t allow the block to fall outward so we had to knock it out with sledgehammers. Below is what we did ending with the updated egress window.


Why Add an Egress Window?
There are many benefits to adding an egress window into a basement, they are beauty, safety, and, income.
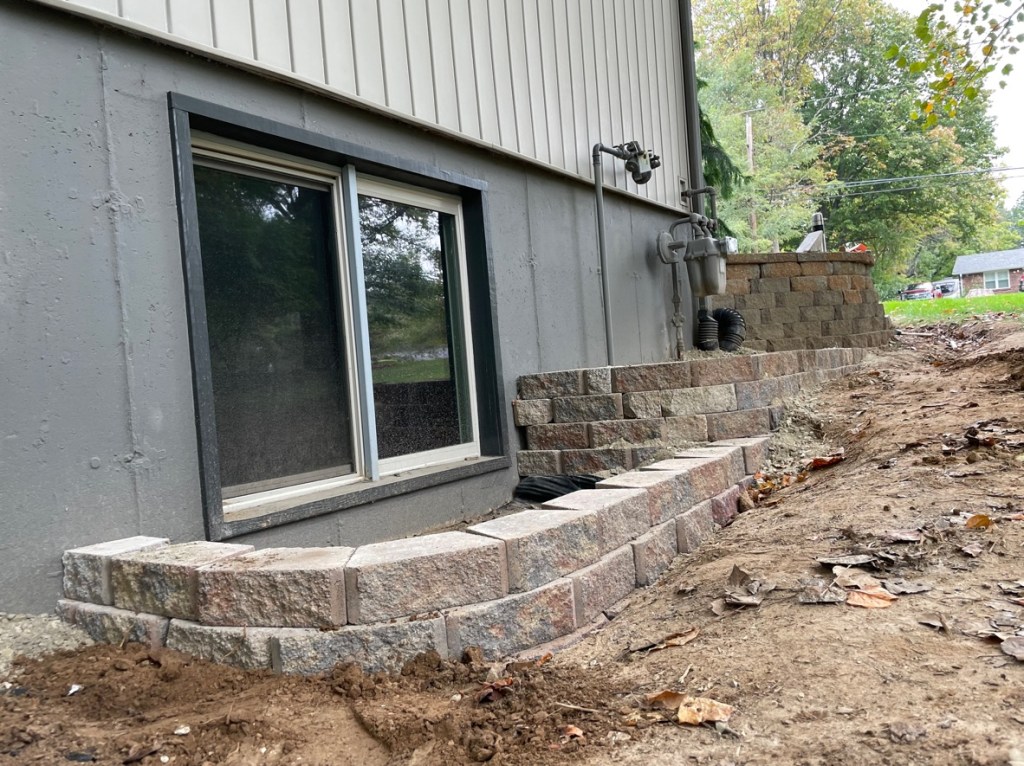
Beauty
It is very nice to have a big window in a basement room because it lets plenty of natural light into the room and makes it feel much less like a basement.
Safety
There is also the safety concern of a fire where people could escape from the window if there was a fire.
Income
This is related to the law around listing a room as a bedroom when renting or selling the property. If you have an egress window that meets local code requirements (a certain height from the floor, a big enough opening to crawl out of, and a certain size based on the size of the room,) then you can call it a bedroom! That will raise the monthly rent you can charge and or the selling price of the property.
What I learned…
…is that if I do this again I will pay more for a cement saw with a mount that cuts at a perfect 90-degree angle. They also have lasers on them, so I would also require that it has lasers, not because that is very important but because it is amazing.
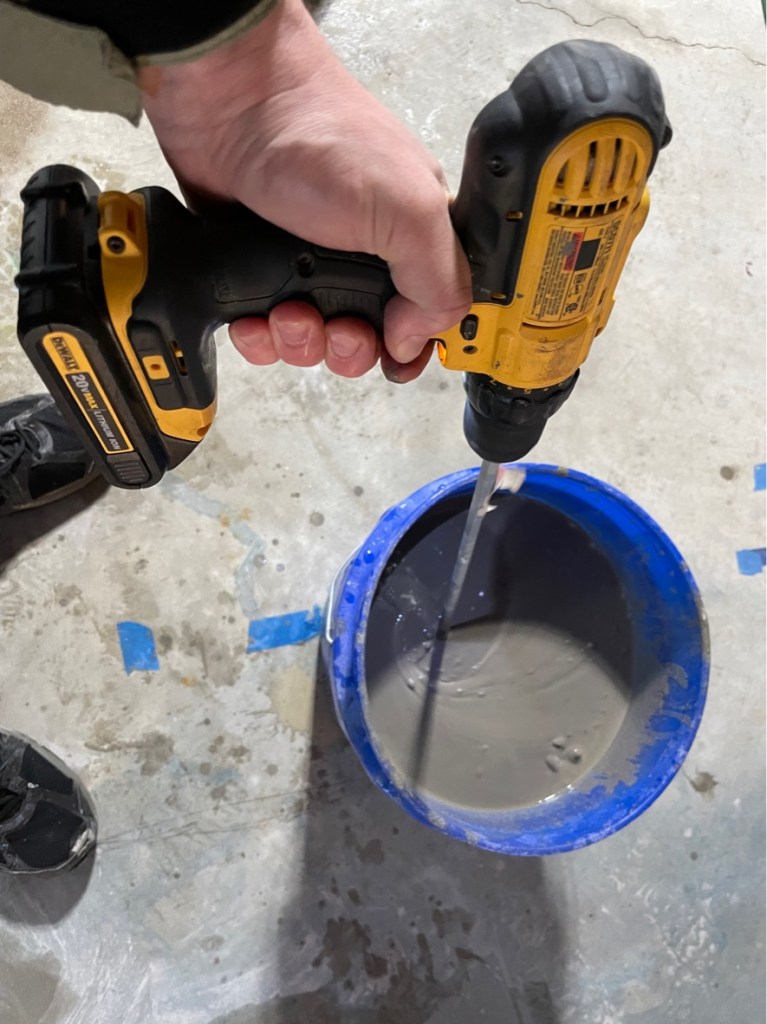
Level the Playing Ground
After putting in the window I leveled the floor with some self-leveling cement. The first step is to paint down some primer rated for self-leveling cement. (Left below) Then mix the cement. (Center below) Lastly, pour and spread with a board. (Right, below)
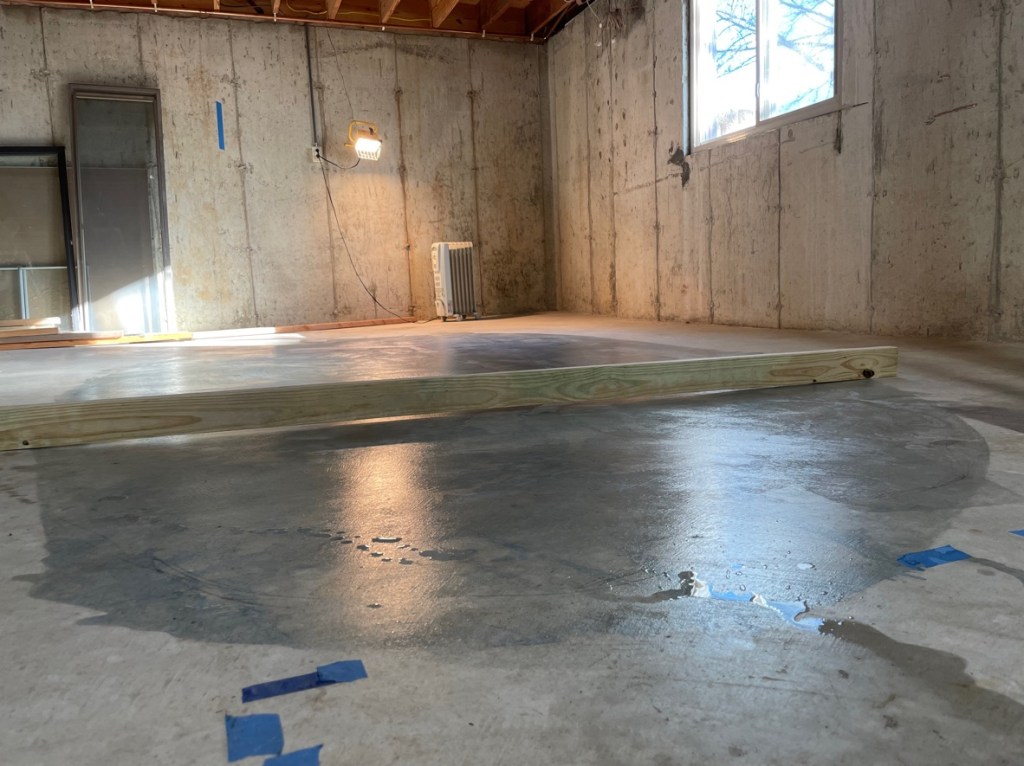

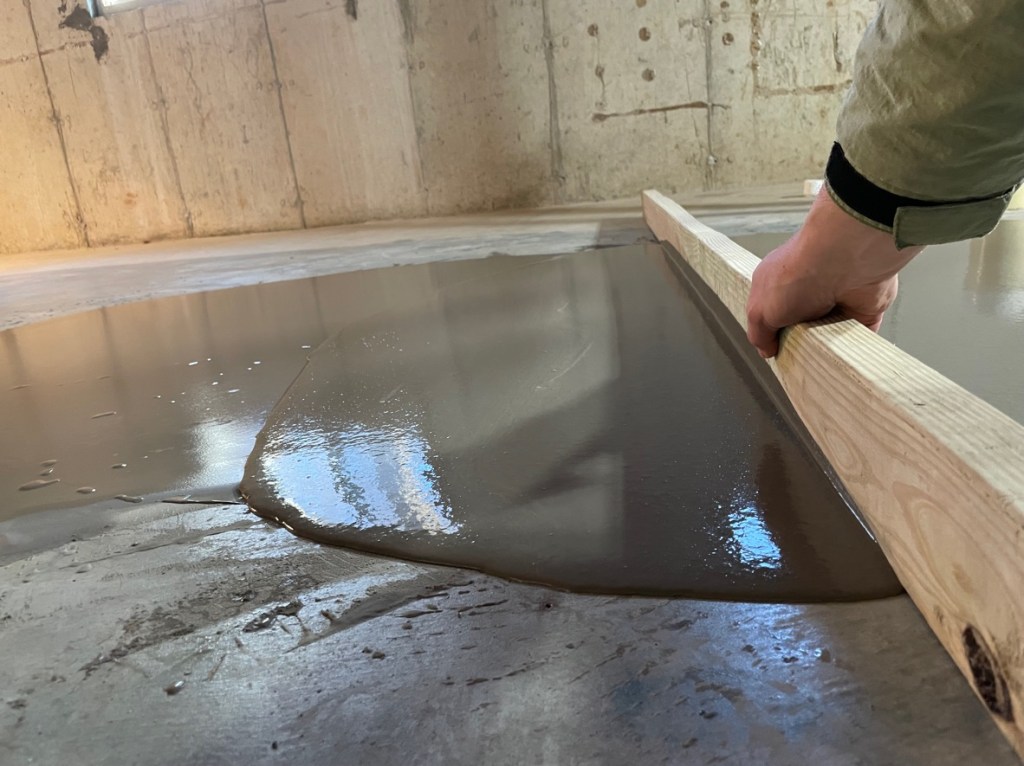
on the floor of my basement and strike it out to level the floor.
After the Egress window was in and I felt better about the dip in the floor, I hung some 10 mil sheet plastic as a moisture barrier with “liquid nails” industrial caulk.
The next step was to put up some stud walls with pine 2″X4″ lumber. I used pressure-treated lumber on the bottom board because those hold up to moisture better than the cheaper untreated boards I used for the studs and the top plate.
Sound-Proofed the Room
So, I am using the term sound-proofed lightly here. I merely dampened the sound entering and reverberating within the room. If I had “soundproofed” my office that would have cost several tens of thousands of dollars, but I will say that my office is quiet and mute, and there are still things I could do to reduce the noise floor of the space.
Rockwool Insulation and Wool Pads
I also filled the walls and ceiling with Rockwool insulation. This fiber made from minerals adds additional sound absorption.


If you look closely at the pictures on the right, above, I also added wool strips between the gypsum drywall sheets and the studs in the whole room, and across the hall on the wall in front of the HVAC. All this was done to make the room mute and dampen sounds from outside.

There are definitely more complicated and much more expensive ways to decouple the drywall from the wooden stud, however, these wool pads worked and I purchased them at a clearance price at Menards. Whenever I upgrade a house I always look for the option with a good value. It’s not the fanciest system, but it did the job well and cost me almost nothing to implement.
Then, after hanging the drywall over the studs we hung a suspended ceiling. Luckily my (then) 5-year-old son had experience with this. He had also wired a few houses by then, which was helpful.


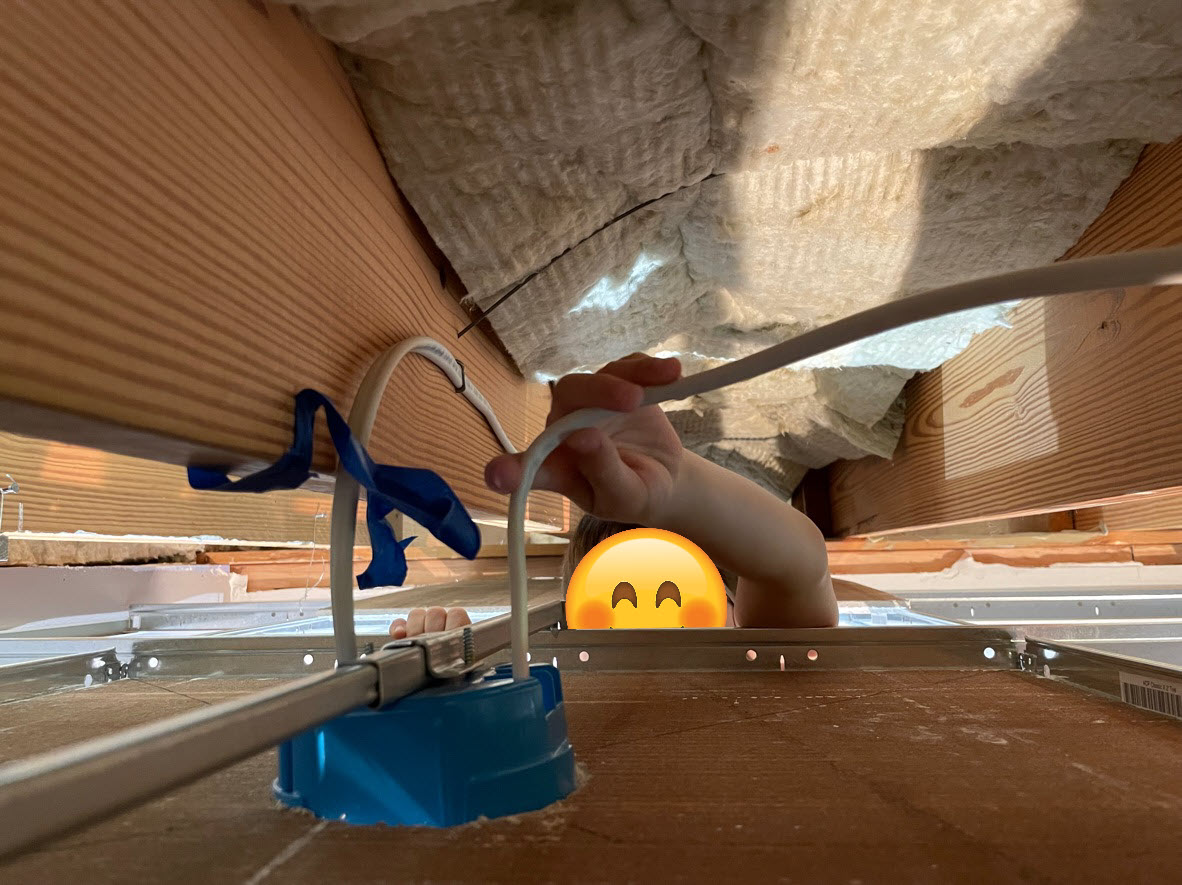
Yes, I am joking, this was his first experience hanging suspended ceilings and wiring LED light fixtures, but it’s never too early to learn how to build sweat equity in real estate, especially in an owner-occupied property!
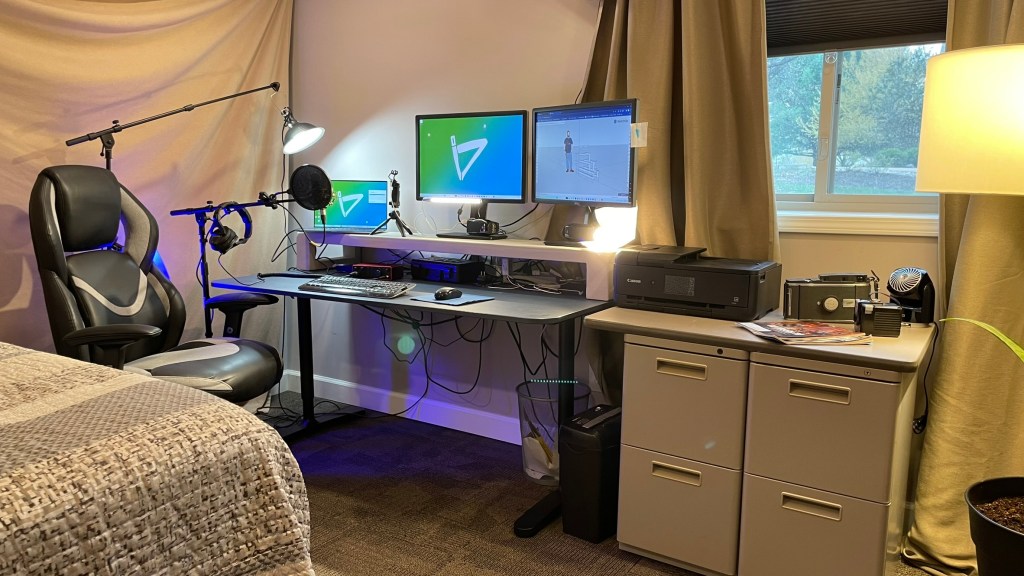
That brings us up to 2014, and a lot has happened in the room where I am currently sitting, writing this blog post. For starters, I work from home in this room.
Jetted Tub
We installed a jetted tub! So, this has nothing to do with building my sound booth, but the work happened alongside the sound booth work, so it ended up in the retro montage video I opened this post with. This addition was less substantial overall but it is something that I use all the time to unwind and relax.
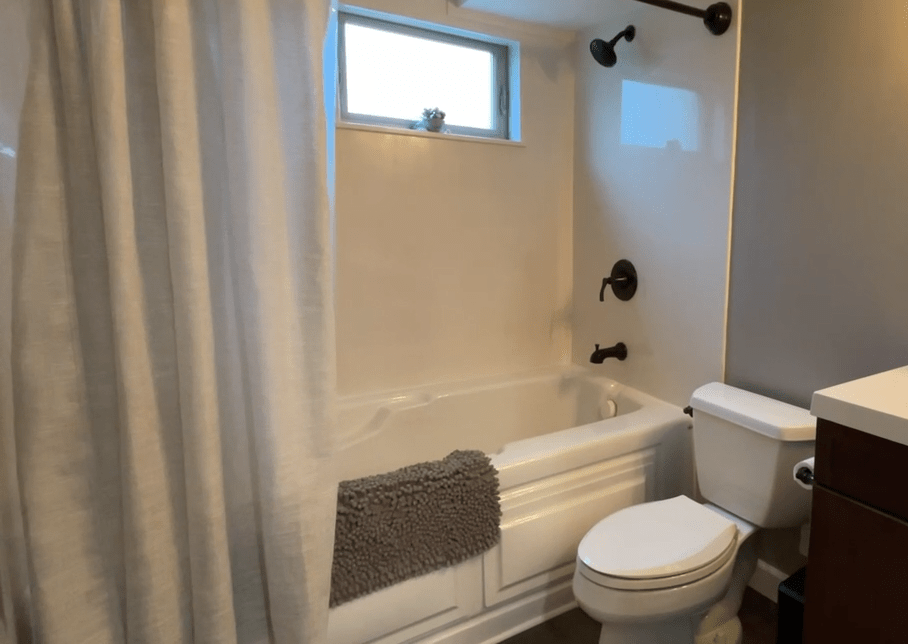
I have used this tub to take hot Epsom Salt baths, but it has also come in handy for ice water baths for muscle recovery, and a fun bath for the kids!
How I am Improving My Sound Booth Today
Sound in One Ear Using Camo Studio Pro with Focusrite Scarlet 4i4
in the original Video, I shot for this post, I looked further into a complication with my sound setup. It took me quite a bit of time to solve this issue. I wasn’t sure which sound setting was causing my audio to record into only the left channel.
At first, I thought this issue was with the Focusrite Scarlet 4i4 digital sound input. So I was looking at the audio settings in the app interface for that device, and they were not fixing the issue. in the end, I discovered a setting in the Camo Studio application (which I’m using to implement my cell phone as an HD camera), that caused the single audio channel in the final recording.
In this video, you can see me explaining this issue in detail, and I start with how I solved this issue, then I include all of the tests I ran while I was trying to understand why I was having this error. I ended the video with a humorous project I completed for work where I had to quickly put together a video that had sound in only one channel. At the end of this video, the movement of my lips is not synced with the sound, and it is disorienting. Unfortunately, this video was already published to the members of our organization before I realized I had made this error. this clarifies why it was so vital for me to solve this opportunity. #CamoStudioPro #FocusriteScarlet4i4 #focusritescarlett #Focusrite #Scarlet4i4 #Camostudio
Conclusion
This year I am focused on integrating the separate parts of my life. I have many interests and often do not have enough time to allocate to all of them adequately. Integration has become about clearly identifying the things I like to do and spending more time on them, so I can do them well. My interests in sound design, video, learning content, real estate, art, landscaping, and spending time with my family have all contributed to the success of this sound stage that I have built. There will always be ways to make it even quieter and find better ways to increase the quality of my videos. I must not let the idea of those things that I still plan to do demotivate or distract me from things I am doing today.
