Stamps
How to use them and how to make your own

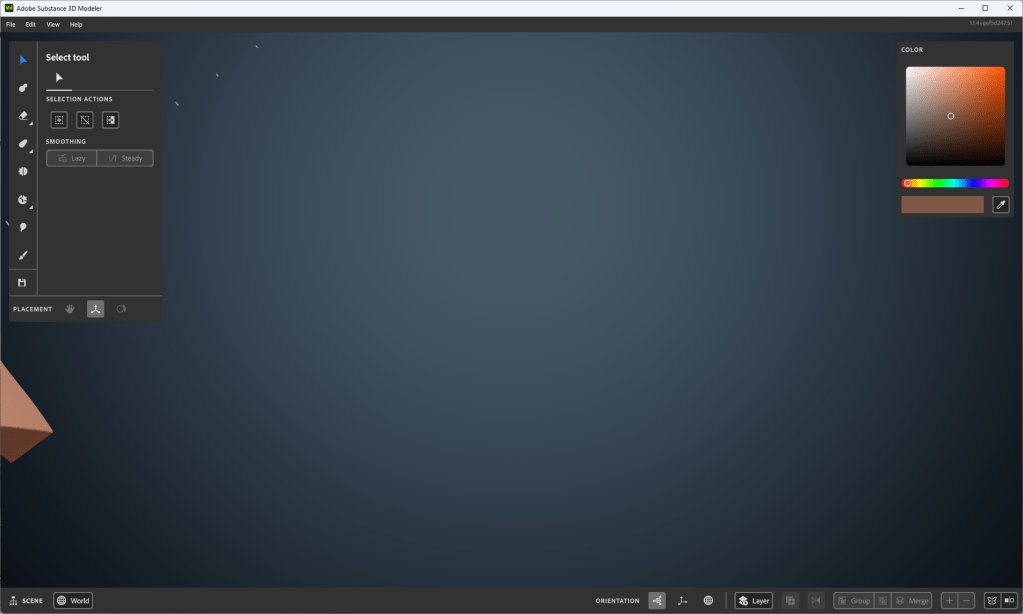
The stamps live next to the primitives as a shape option for the clay tool and the erase tool.

Stamps can be in any shape!
Also, Adobe Modeler comes with preinstalled stamps!
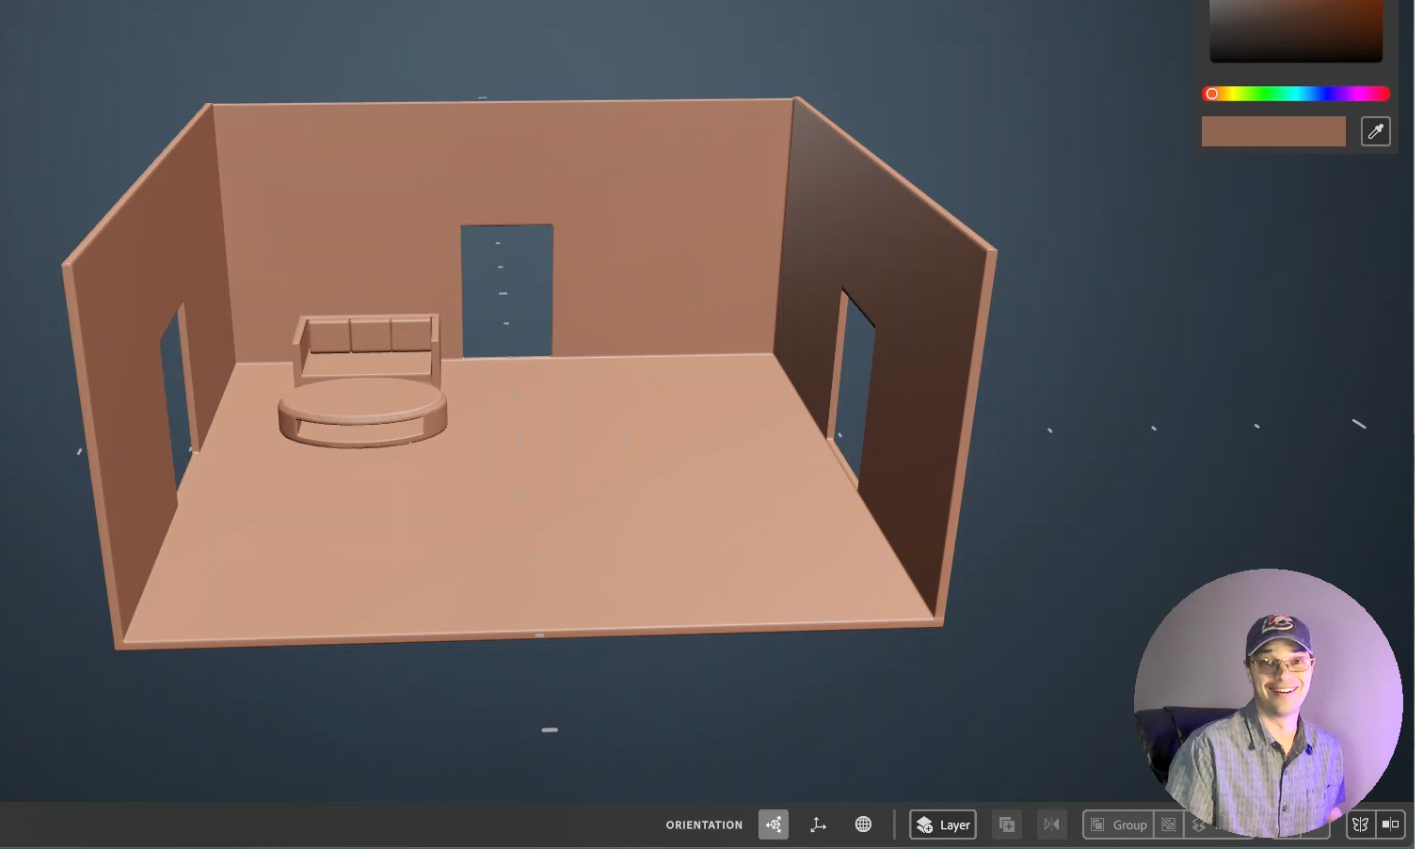
Check out what I came up with in the video, stay tuned below for more detailed step-by-step information on how stamps work.
What are Stamps?

Stamps are based on meshes rather than the math of the primitives (essential tools for clay building) The outcome is that there are fewer options to change the Dynamics of the shape (like Taper, Fillet, Round, etc.) You can see above that Size is the only option to change the Dynamics of the stamp tool selected. Although, Single, pressure, and steady are still options which is a great thing.
There are two ways to make Stamps
First Way to Make a Stamp

You can make a stamp from a layer.
- Select the layer
- Right-mouse click to open the Actions menu.
- Select the Stamp Icon

I want to point out that if you are working in VR the stamps in the tray are previewed in 3D. I just think that is amazing.

You can click on the create stamp icon anytime you are editing, because when you are editing you have a layer selected.
Second Way to Make a Stamp
You can import stamps as mesh files inside the app.
Modeler currently supports importing stamp meshes files in these formats:
- OBJ
- FBX
- USD
- GLTF
IMPORTANT: These files must be added through the app, you can not just dump them into the Window where MOdeler stores stamps. (Adobe > Adobe Substance 3D Modeler > Stamps)

Add a stamp file here instead:

Today I viewed The 6th video on Stamps from the Substance 3D Modeler – Desktop Playlist on YouTube.
Up Next
I am so very excited about the next topic Symmetry and Repetition!
See you tomorrow for Day 6!

Work Cited
Bishop, Gary John. UNFU*k Yourself – Get out of Your Head and into Your Life. Harper Collins Usa, 2017.