The stamps live next to the primitives as a shape option for the clay tool and the erase tool.
Stamps can be in any shape! Also, Adobe Modeler comes with preinstalled stamps!
Check out what I came up with in the video, stay tuned below for more detailed step-by-step information on how stamps work.
Video of my creating
What are Stamps?
Stamps are based on meshes rather than the math of the primitives (essential tools for clay building) The outcome is that there are fewer options to change the Dynamics of the shape (like Taper, Fillet, Round, etc.) You can see above that Size is the only option to change the Dynamics of the stamp tool selected. Although, Single, pressure, and steady are still options which is a great thing.
There are two ways to make Stamps
First Way to Make a Stamp
You can make a stamp from a layer.
Select the layer
Right-mouse click to open the Actions menu.
Select the Stamp Icon
I want to point out that if you are working in VR the stamps in the tray are previewed in 3D. I just think that is amazing.
You can click on the create stamp icon anytime you are editing, because when you are editing you have a layer selected.
Second Way to Make a Stamp
You can import stamps as mesh files inside the app.
Modeler currently supports importing stamp meshes files in these formats:
OBJ
FBX
USD
GLTF
IMPORTANT: These files must be added through the app, you can not just dump them into the Window where MOdeler stores stamps. (Adobe > Adobe Substance 3D Modeler > Stamps)
I am going to teach myself how to create 3D objects in the virtual space. I don’t know how to use Adobe Substance Modeler, Adobe Substance Painter, or Adobe Substance Designer, nor do I know how to use Adobe Substance Stager. I am going to spend the next 30 days taking the free Adobe Tutorials on at least Adober Substance Modeler and sharing my experience here. We will see how it goes!
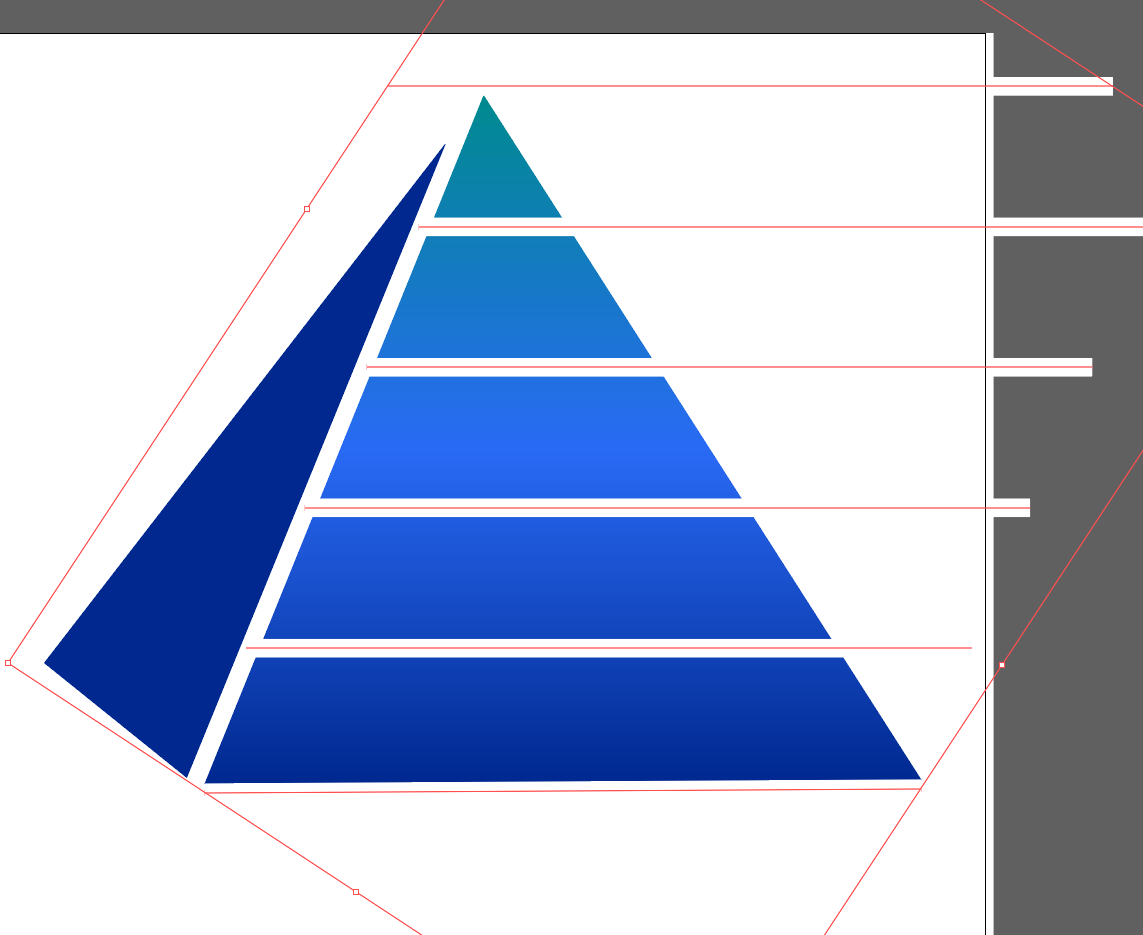
Upon taking some preliminary video courses I have learned that this can lead to designing in Virtual Reality and Augmented reality and I want to be very clear that, this is my ultimate goal. For now, I want to build a logo for my brand and I am thinking that the 3D space might be easier than Illustrator. I have some basic designs in Illustrator and they look well… flat.
So far I have been working in Adobe Illustrator which to be fair I have not used in over a decade. I like it, it is very powerful. HUGE shout out to my buddy Luke Lindberg who has been holding my hand through this process. You are the man Luke. If you need a graphic designer, then hit him up!
What I love about living in 2023 is that if you want to learn something new chances are the platform that makes the product you want to learn is producing high-quality learning content and sharing it on Youtube for free! HOT JAMS! Just look at this, 10 fresh clean learning artifacts that walk me through the process. I would be mad to not take advantage of this! Adobe Tutorials “https://youtube.com/playlist?list=PLB0wXHrWAmCwrvuebNKHc7rooXkkVDwln“
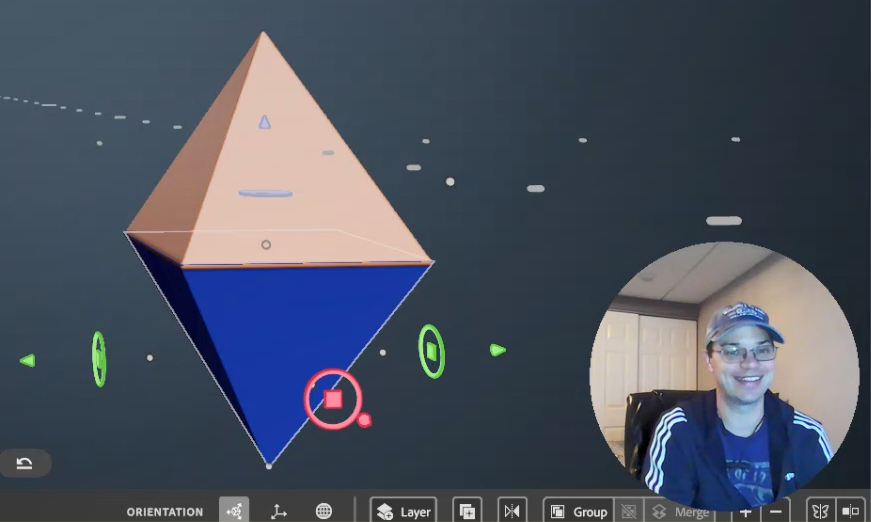
So, I am jumping in, I am teaching myself something I know nothing about. So let’s look at what I came up with. You can tell by the concerned look on my face in the next video! This is not the face of a man who knows what he is doing. This is the face of a man who is vulnerable and swimming in waters he does not know.
After Working with the First 3D Substance Modeler Tutorial #1
So, to be candid. I created something and it didn’t work because I was just messing around with the shape of the brush and not actually creating something. Then when I went to reopen the file there was nothing there because I didn’t create anything. So I actually created this after watching the second tutorial but it relates to the first tutorial so I will share it first.
After Working with the First 3D Substance Modeler Tutorial #2
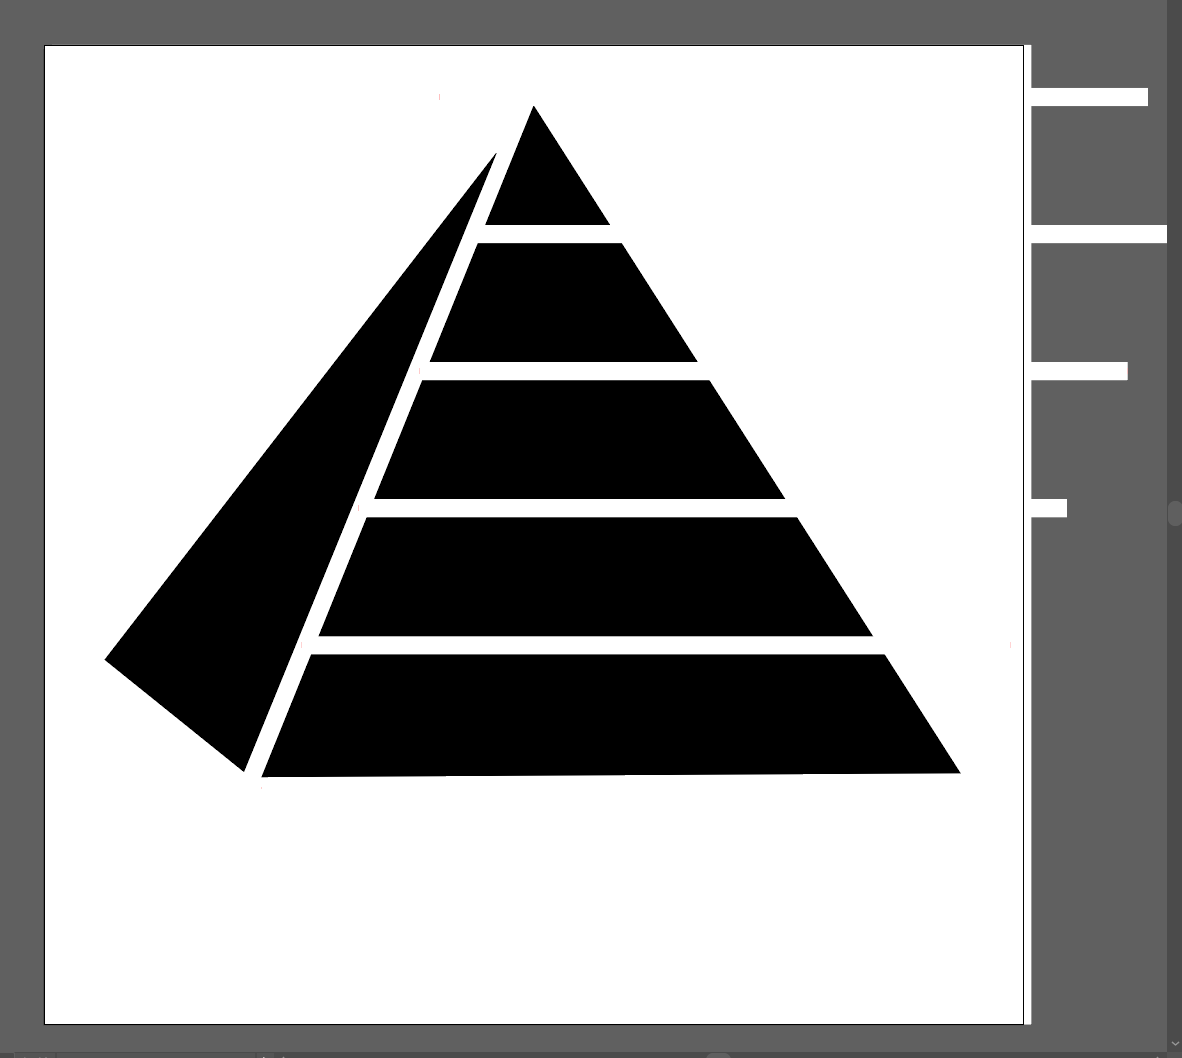
In this tutorial, it became clear how to use the creation “gizmo” or “brush”. You can press the “e” key to set it to a transparent object for erasing. Or you can press the “c” key to create in clay. I am still not clear on what pressing the “c” key does. It sort of bakes the clay and then you can’t erase what you have already done. I really dug in here and created many layers to get an idea of what the limits were.
I am really excited to enter this new space. Even if these aren’t the tools I eventually need to create VR and AR experiences learning these skills will be valuable when I do. I would like to thank the learning team at Adobe who put these learning playlists together. YouTube really is the best LMS on the planet Earth.